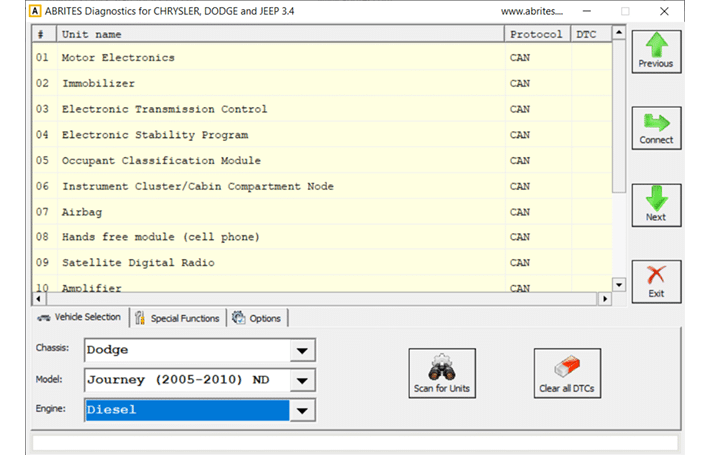
In order to perfom vehicle diagnostic scan you need to go into the “Vehicle Selection” tab, and choose the Brand, Model, and Engine type.
“Scan for Units” button would perform vehicle diagnostic, find all available modules and provide the DTCs.
“Clear DTCs” button would remove any temporary DTCs stored in the units, and the vehicle would remain with either no DTCs, or only with the DTCs that you need to take care of.
You also have the option to read/clear the DTCs of a singe unit be choosing the unit from the list and double-clicking it, or pressing the “Connect” button. Once you open a unit, you will see a new window with the basic diagnostic options.
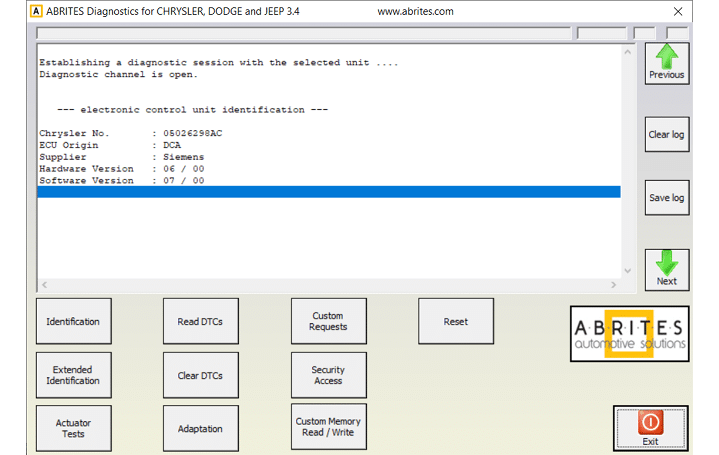
This is the main screen you see when you enter into a module, and provides the basic diagnostic functionalities. This is what you can do:
-
Identification - gives the identification data of the module you have accessed
-
Read DTCs - reads and displays the diagnostic trouble codes currently stored in the unit
-
Custom Requests - functionality for development purposes
-
Reset - would close any ongoing tasks
-
Extended identificaction - provides more detailed identifiation data of the unit.
-
Clear DTCs - clears the temporarily diagnostic trouble codes in the unit
-
Security Access - performs security access of the unit
-
Actuator Tests - lets you perform actuator tests
-
Adaptation - lets you read/update the VIN of the unit by reading or updating its coding
-
Custom Memory Read/Write - lets you read/update the memory data of a unit, save it to a file or upload a file in order to update.
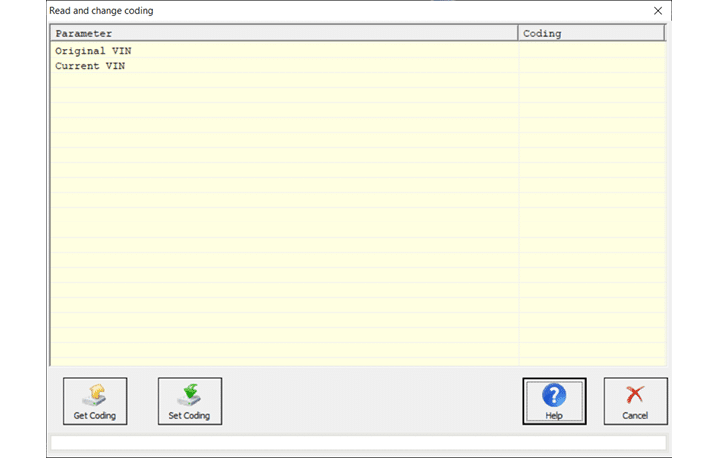
Below you can see screenshots from the “Adaptatons“ menu, where you can read and update the VIN of a unit by reading or updating its coding.
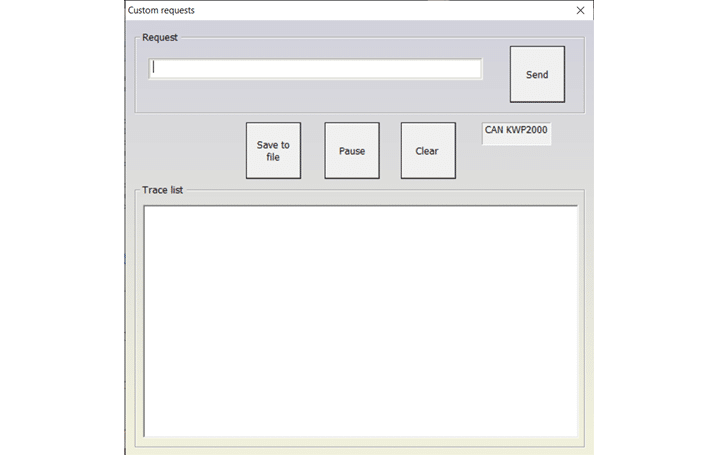
The second screenshot displays the menu of the “Custom Requests“ where you can send custom requests to the unit, making modifications, and you can save this as a file later. This is a functionality for advanced users