Please follow the bellow given instructions when installing the software for your AVDI interface.
Important! All executable files (.exe) mentioned above must be executed consequently(1,2,3) for the installation to be complete. Otherwise the software might not function as expected!
Step 1. Download all the parts of the common
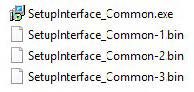
setup files in one folder.
Start the executable file “SetupInterface_Common.exe” and follow the on-screen instructions.
IMPORTANT! Make sure that they are all downloaded in the SAME folder and their names are EXACTLY as they are named on the image above. If you have “SetupInterface_Common-1 (1) or (2)”, as Windows would name them if you have two files with the same name, the installation WILL NOT be completed.
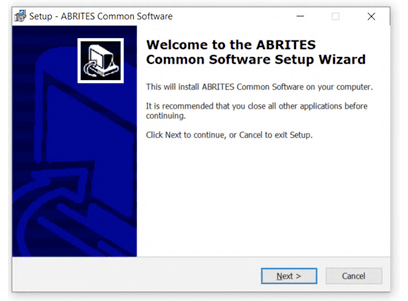
Press the “Next” button to proceed with the installation.
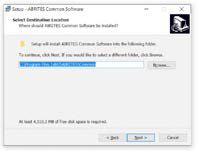
Press ‘Next’.
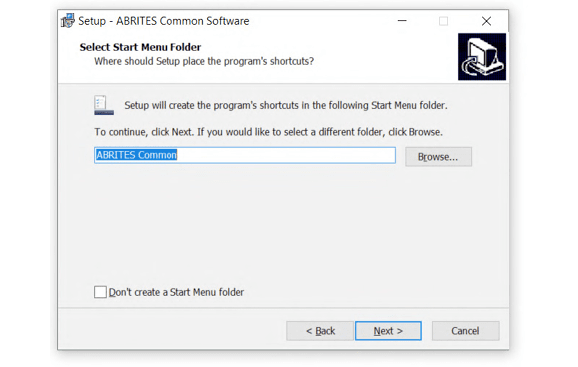
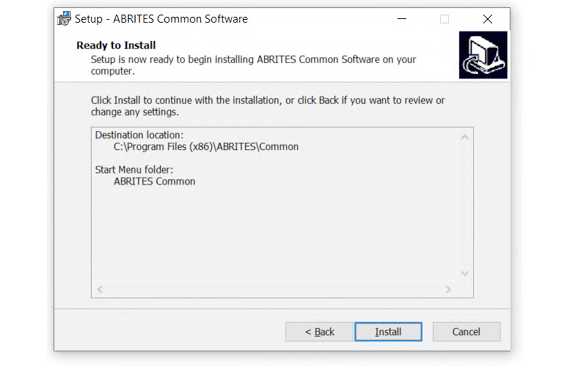
Press ‘Install’ and wait for the installation to complete.
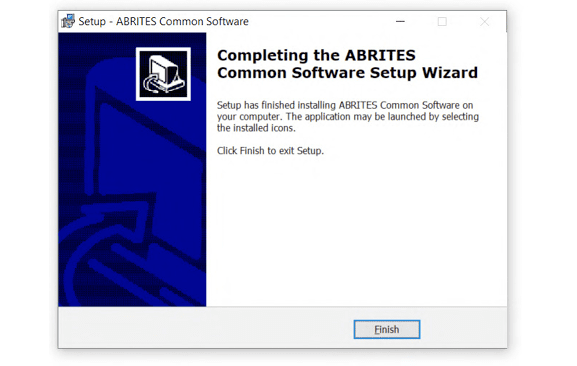
Press ‘Finish’.
Step 2.
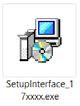
Please, start the executable file ‘SetupInterface_17xxxx.exe’ (or 16xxxx.exe) to initiate the installation procedure and follow the on-screen instructions.
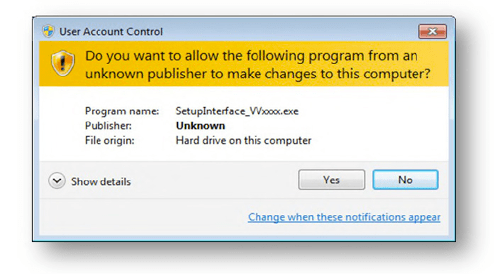
Depending on your operational system and settings you may be asked to confirm the start of the installation procedure or to type in your administrative credentials.
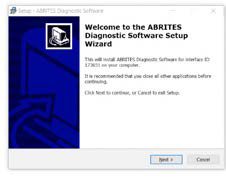
Press the “Next” button to proceed with the installation.
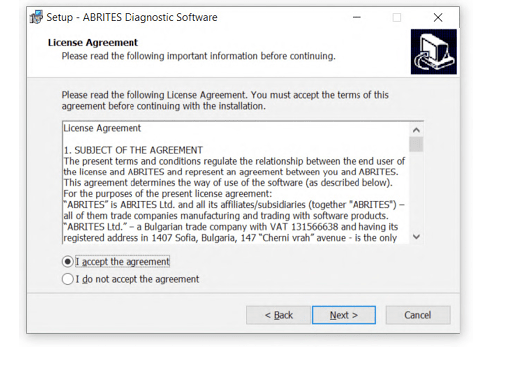
Read the license agreement carefully and select “I accept the agreement” if you accept it. Then press the “Next” button.
If you do not agree press the “Cancel” button to interrupt the installation procedure.
Read the General Data Protection Regulation
(GDPR) and press the “Next” button.
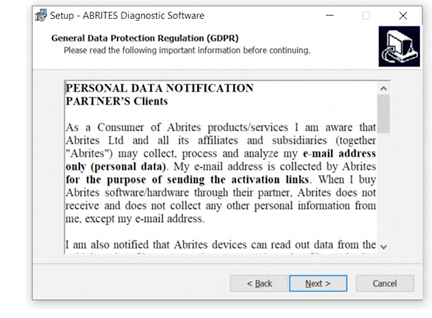
If you do not agree press the “Cancel” button to interrupt the installation procedure.
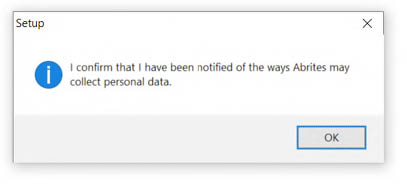
Confirm the GDPR by pressing the “OK’’ button.
Press the “Next” button to proceed with the installation.
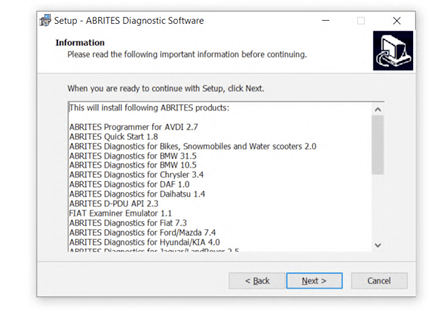
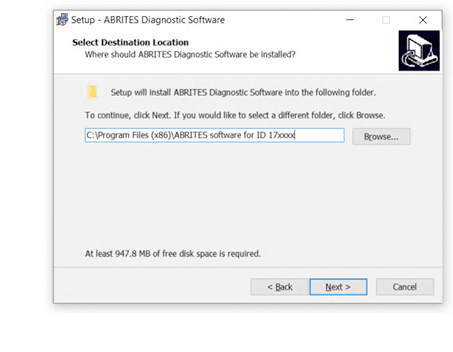
Press the “Next” button to proceed with the installation.
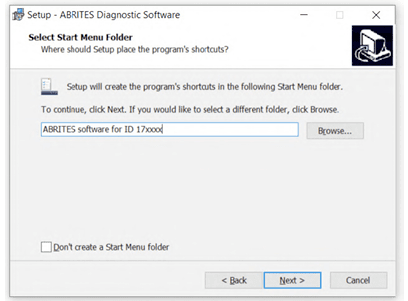
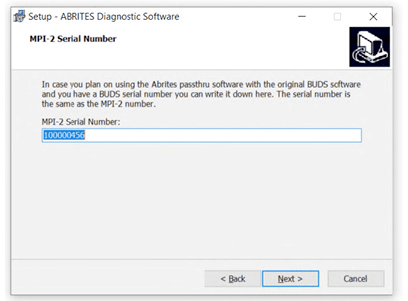
Press the “Next” button to proceed with the installation.
If you do not want desktop icons – uncheck the check box about the creation of these icons.
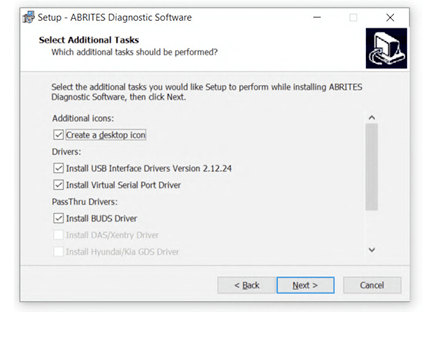
Press the “Next” button to proceed.
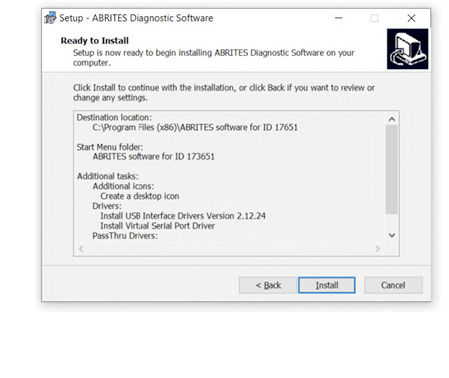
Press the “Install” button.
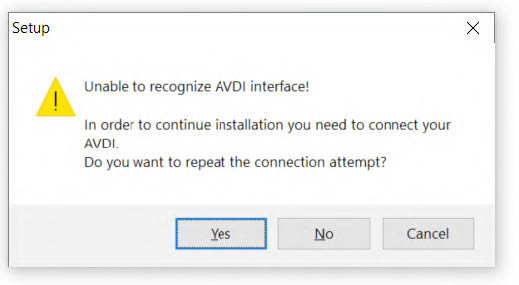
If you do not have your AVDI connected to the PC during the installation you will see this message. Connect your
AVDI and press “Yes”.
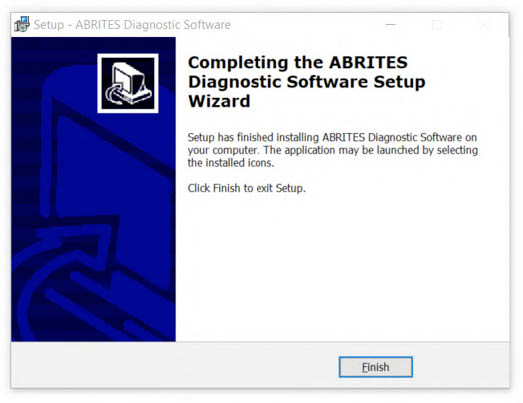
When the installation is completed the wizard will create an “Abrites Quick Start for ID17xxxx (or 180xxx) desktop icon.
New generation Abrites Online Diagnostics for BMW/Mini, Renault/Dacia/Samsung, Honda, Mercedes-Benz, Mitsubishi, Nissan/Infinity, Rolls Royce, Subaru, Ford/Mazda, PSA, Hyundai/KIA, VAG
During the half of 2014 Abrites ltd. released a new generation of Online diagnostic software. The Software is currently distributed together with the older platform. The new generation software (versions 31.5 and later) requires Internet access due to the large calculations performed by the Abrites server instead of the user’s computer.
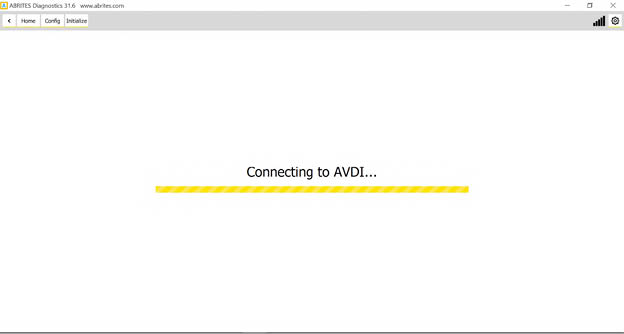
When the software is launched it will display the messages for server connection and AVDI connection.
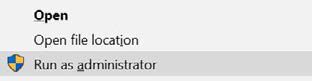
When new updates are available the Abrites software has to be run as administrator.

If more than one component need to be downloaded the software has to be run it one more time as administrator. Right click on the Abrites Quick Start icon on your desktop and select “Run as administrator”.
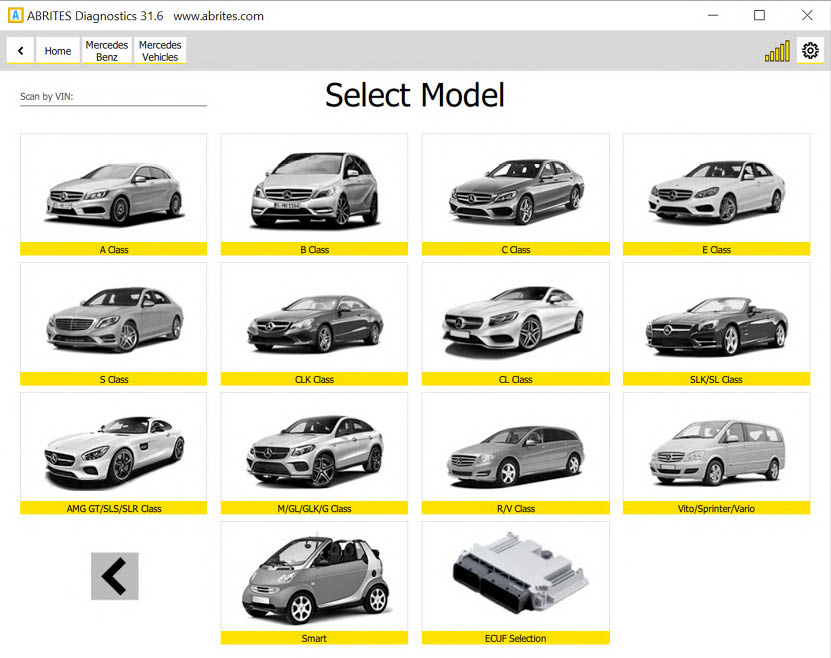
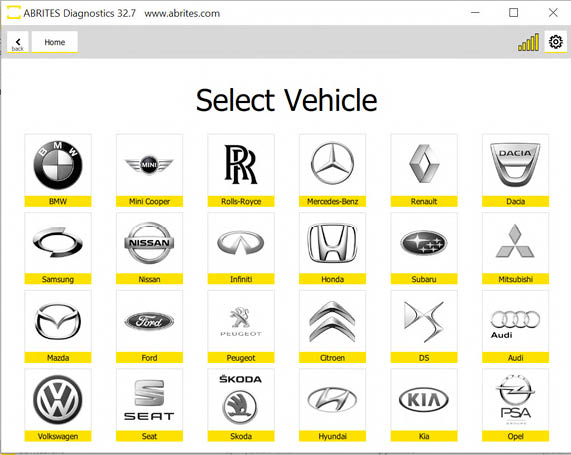
As soon as the interface is recognized and all updates are installed the list of available models will be displayed.
Please, be informed that the installation includes a copy of the user’s manual to which you could refer at any time. It is stored in the following location:
Start menu -> Program Files -> ABRITES -> Common -> AVDI Common User’s Manual
You could use the interface for any given diagnostics by going to the following location
Start -> Program files -> ABRITES software for ID17xxxx(or ID180xxx) -> choose one of the folders named by brand or open the “ABRITES Quick Start.exe” file.