Step 1
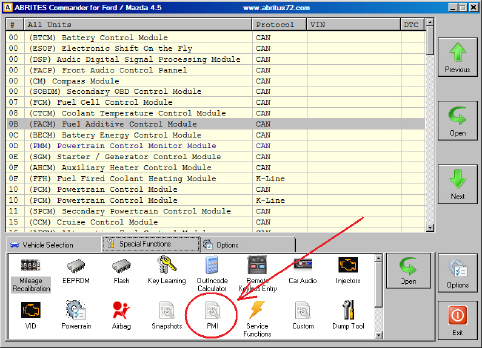
Go to the Special Functions screen. Select PMI.
Step 2
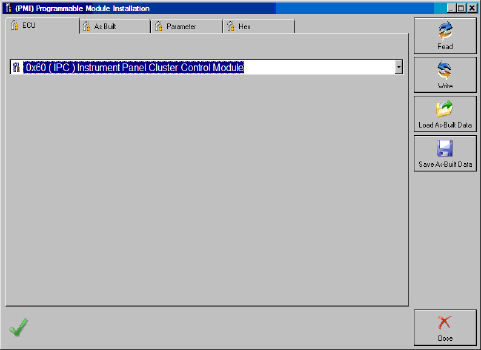
Following Dialog Appears. Select ECU from combobox.
Step 3
If the original ECU is available, you can read PMI data.
Use “Read” button.
Step 4
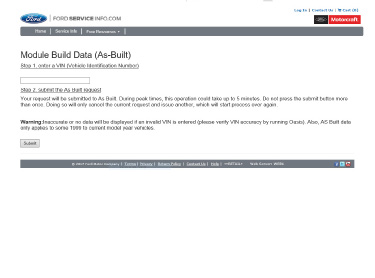
If the original ECU is not available, you can obtain vehicle PMI data from Motorcraft website. Connect to internet and open online form Motorcraft website: https://www.motorcraftservice.com/AsBuilt
Enter the VIN in the box and press “Submit” button at the bottom.
Step 5
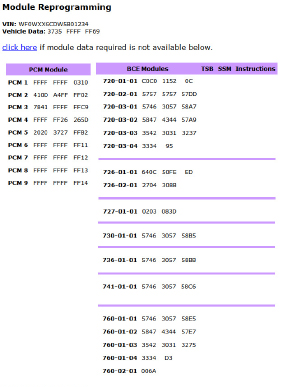
The “Module Reprogramming” page will open with the “VIN” and “Vehicle Data” at the top.
Below this are two columns, the one on the left is PCM data and the one on the right is BCE data. Only programmable modules available in that vehicle will be listed under BCE Modules.
Some modules may have more than one line of data.
If a module is not listed, then it is not a programmable module.
Step 6
Find data for desired ECU by ID.
Enter As-Built vehicle data in diagnostics.
Note that you must enter data without leading spaces, one entry per line.
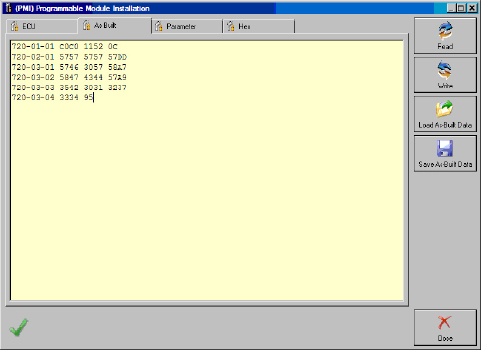
Step 7
Another view format.
Here you can see whole PMI data block.
Double-click on data block to see and edit it in binary editor.
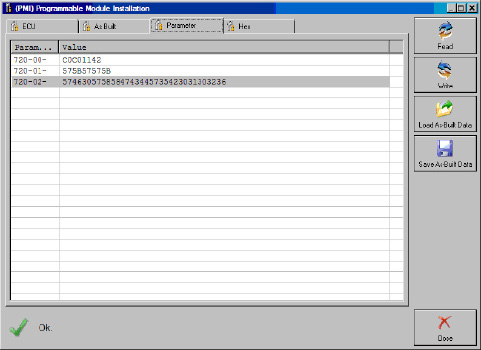
Step 8
If needed edit As Built data before writing.
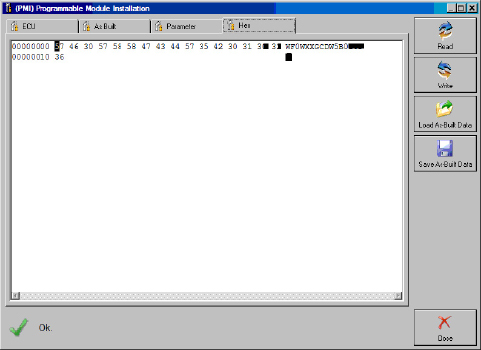
Step 9
Turn Ignition OFF and properly connect new ECU.
Use “Write” button to enter data in newly installed ECU.
Step 10
During the write process, automatic backup of PMI data is performed.
If something going wrong, you can find backup PMI file in AVDI log folder.
PMI backup files have format “Backup_yyyymmdd_hh.mm.ss.pmi”.
Use “Load” and “Write” buttons to restore data.