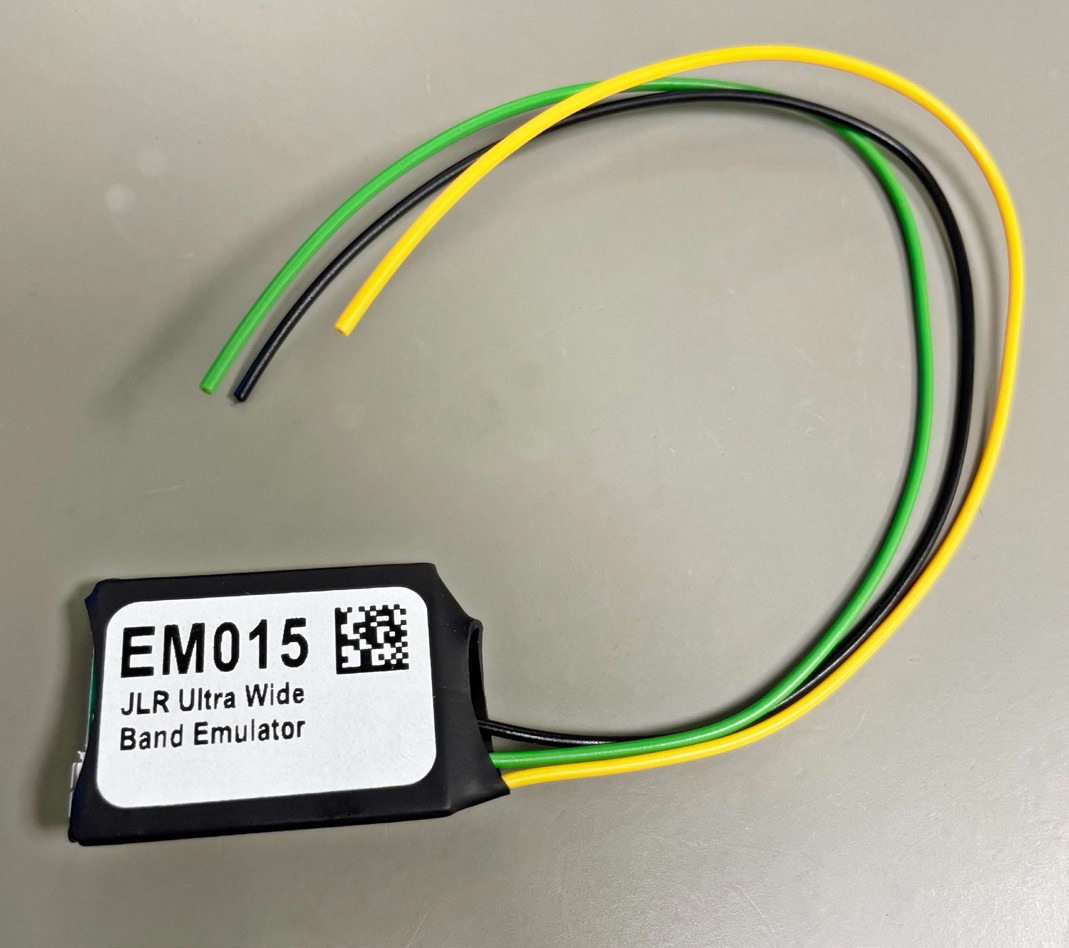
Abrites UWB Emulator connection
If you ever encounter a car which has a UWB module installed the key learning procedure will end successfully but you will only have a working remote for the car. This is when the UWB emulator will be of use to you. The software will lead you through the procedure. Here is what you need to do in order to complete the task.
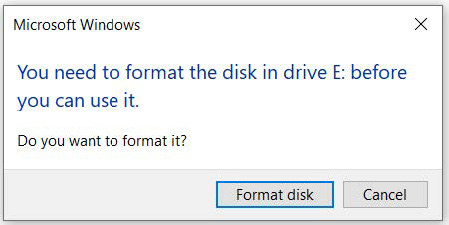
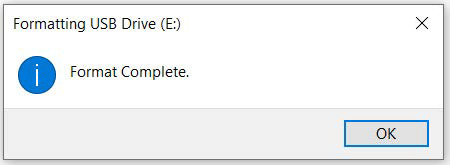
- Connect the emulator to your PC using a random old USB cable which fits the emulator(Micro-USB), format the emulator once you connect it, the format box should pop up immediately after being connected.
1.1 Formatting the emulator prompt
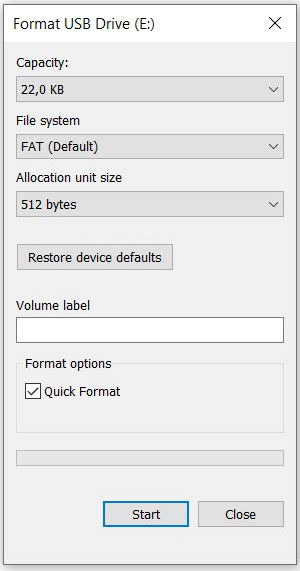
1.2 Quick Format settings
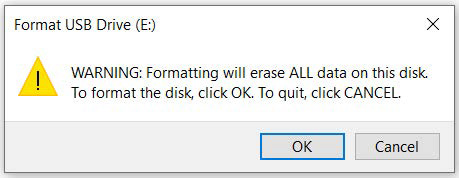
1.3 The warning can be ignored
1.4 The format is complete
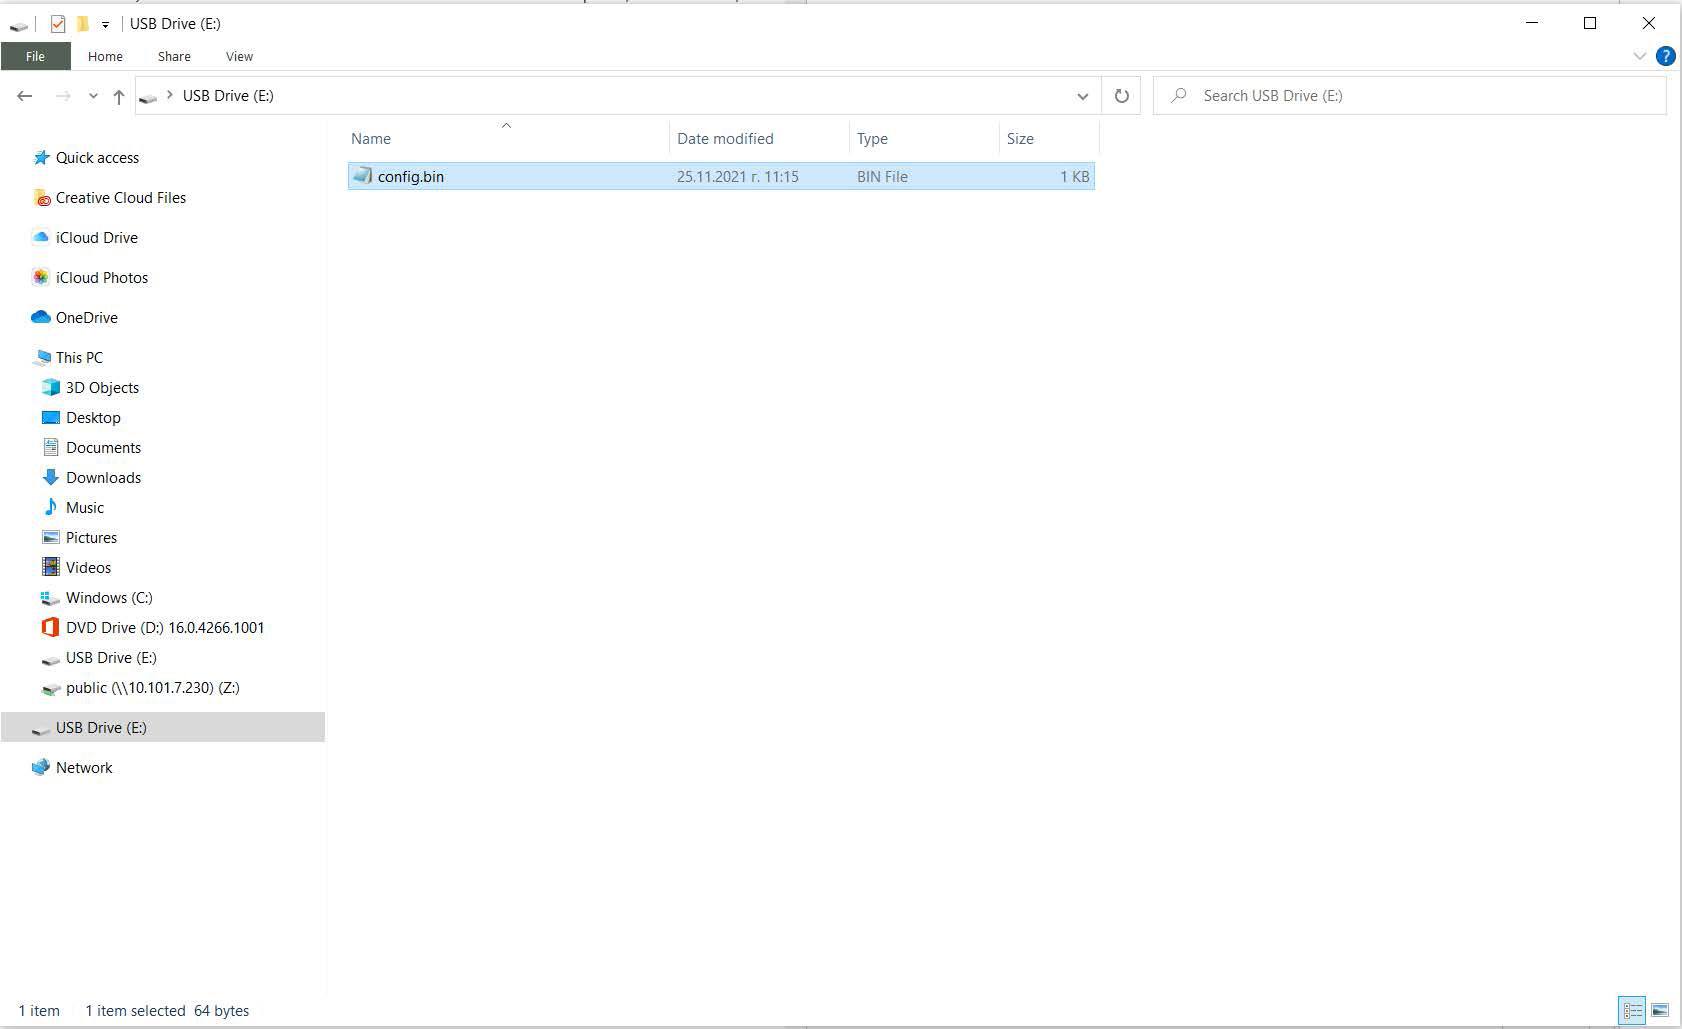
- Go to the log folder of JLR where you have the config file. Copy and paste this file onto the emulator by accessing it just like accessing any regular USB-flash drive. After pasting the config file, the emulator will be automatically disconnected and re-connected to the PC, asking to be formatted. No further formatting is required and the EM015 can be installed in the car.
2.1 The config file pasted onto the emulator
- Connect the B+(yellow) and GND(black) of the EM015 emulator to the B+(red) and GND(black) cables of the KVM connector, the LED on the EM015 lights up in RED:
Yellow (EM015) -> Red (KVM)
Black (EM015) -> Black (KVM)
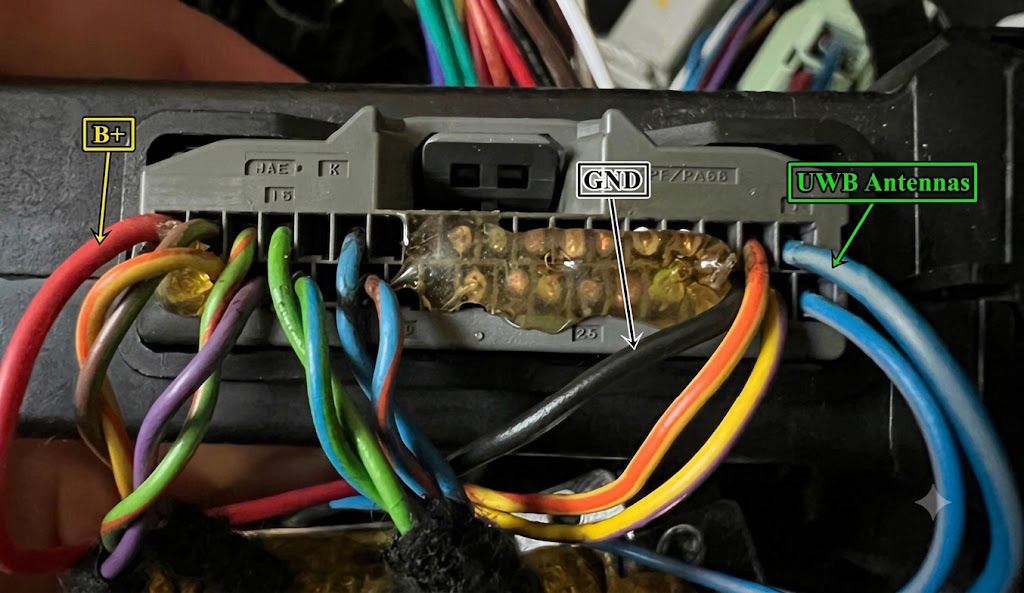
- Cut PIN 1 cable (UWB antenna cable) and connect the green cable of the EM015 emulator to the cable end , which goes to the UWB antenna
Green(EM015) -> UWB antenna cable
-
The LED of the EMULATOR goes from RED to GREEN.
-
Once the LED turns GREEN, disconnect the green cable of the EM015 from the UWB antenna cable.
-
Connect the green cable of the EM015 emulator to the wire, which goes to the KVM module (switch from UWB antenna side to KVM side).
Green(EM015) -> KVM side wire.
In this case the emulator replaces one of the UWB antennas as one of the original antennas remains disconnected (the cut cable can be isolated on the UWB side).