There are several coding functions available depending on vehicle model
-
Coding – Settings
-
Coding – Automatic coding
-
Coding – Manual coding
-
Coding – Automatic coding from file
The “Automatic coding”, “Manual coding” and Automatic coding from file” functions are only available for units communicating with UDS CAN TP.
3.3.3.1 Coding - Settings
This dialog will provide you information for the coding characteristics of the corresponding Electronic Control Module and also the opportunity to modify these characteristics.
Here is an example for the coding information of the vehicle model Boxster 987 (2005-2010) Porsche
Access System (PAS) unit
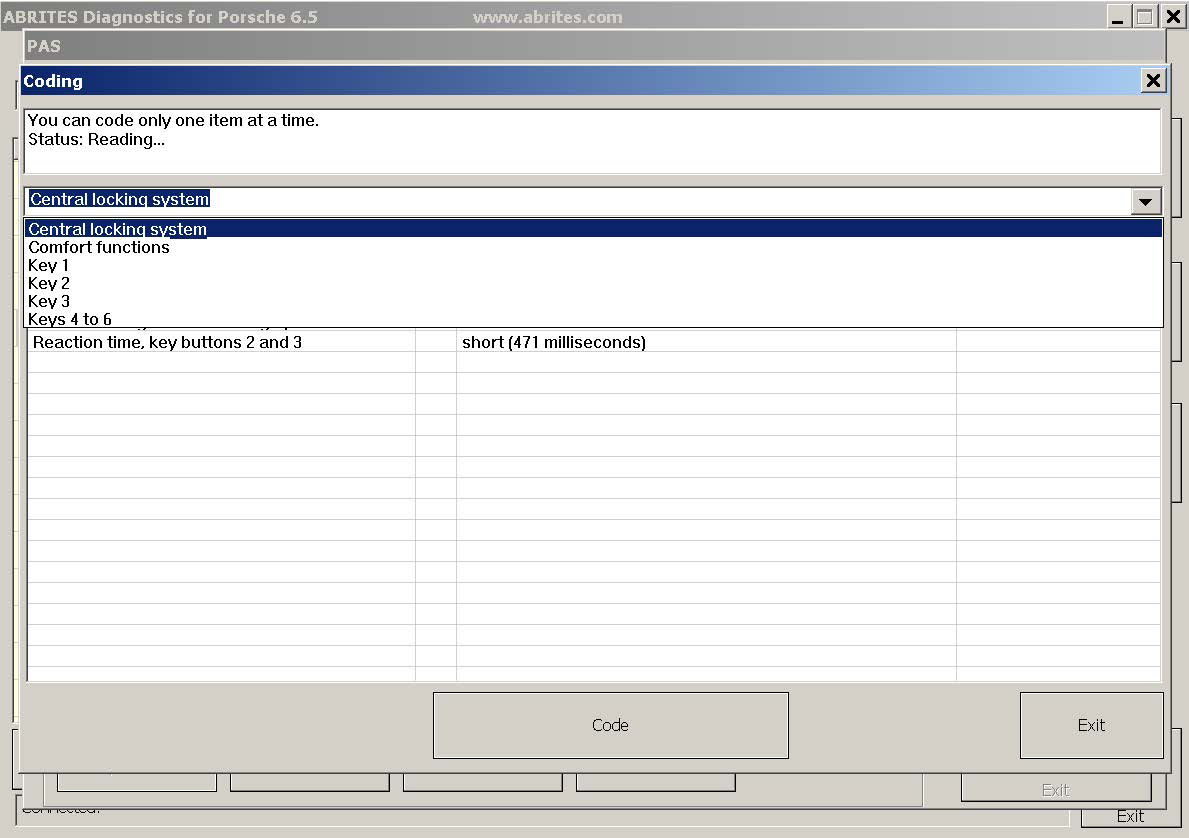
In the example above, you can select from several coding option categories: “Central locking system”, “Comfort functions”, “Key 1”,“Key 2”,“Key 3”,“Key 4 to 6”.
When you select certain category the options belonging to this category are listed below. Here is an example with “Comfort functions” category selected:
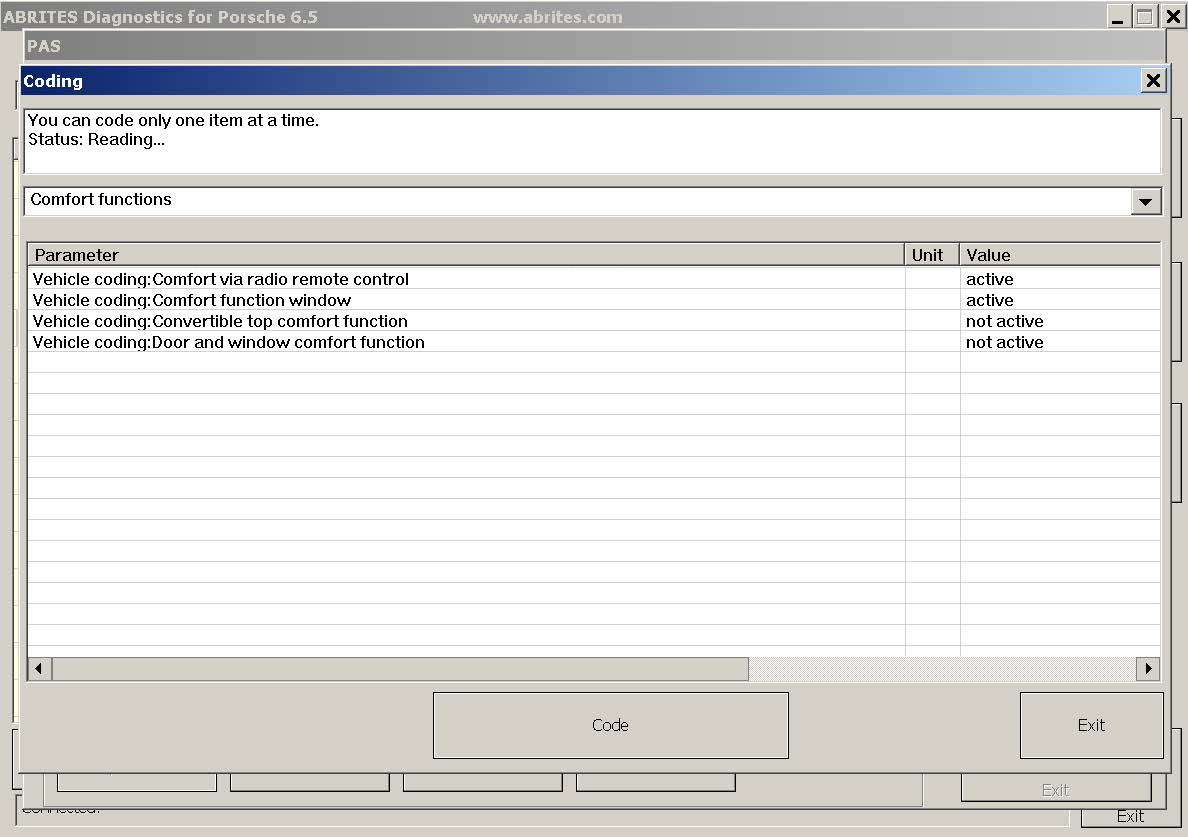
You can modify only one item at a time.
Click on the desired item into column “Value” and you will be able ether to select from a list of possible values or to write down a certain input.
By pressing button “Code” the selected item value will be modified.
3.3.3.2 Coding – Automatic coding
Use this function when unit is not coded or coding is faulty (there is usually DTC indicating this). This function will calculate unit’s default coding according to vehicle configuration read from vehicle and write it into the unit.
You can use “Coding – Settings” after that to change user specific settings.
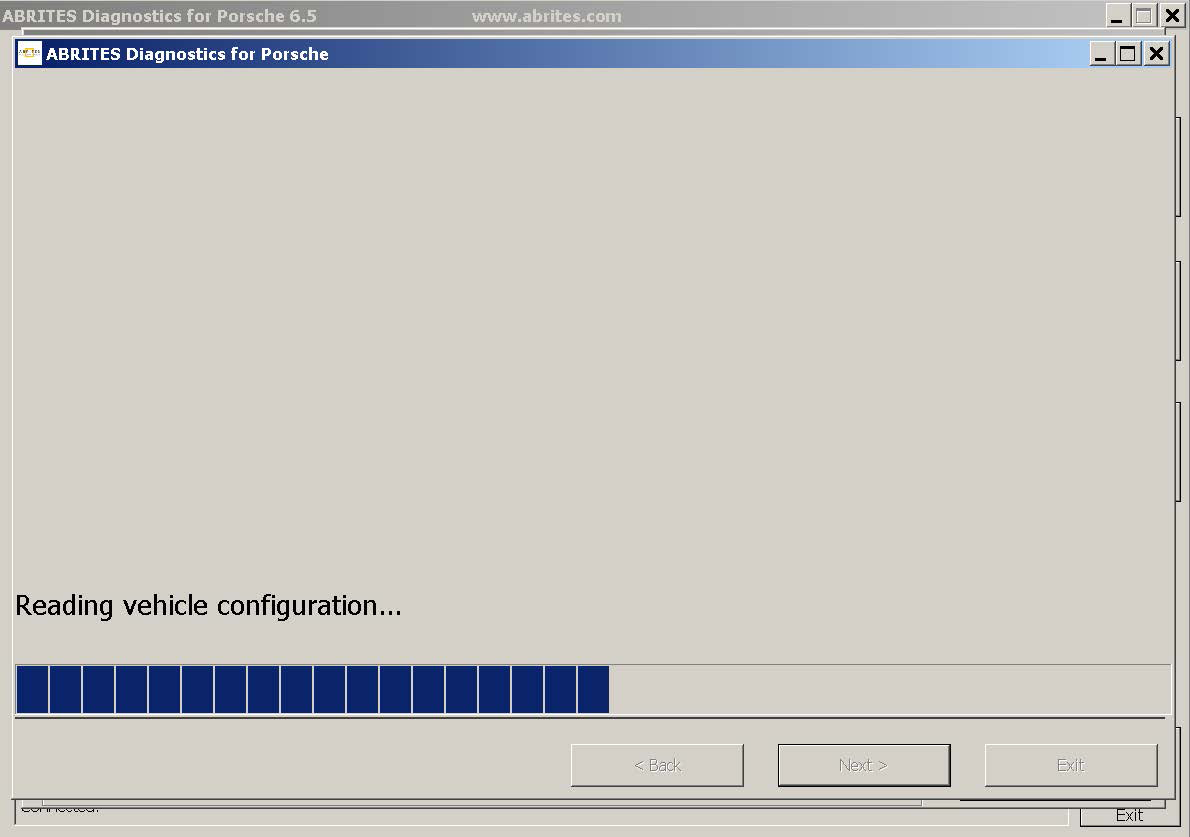
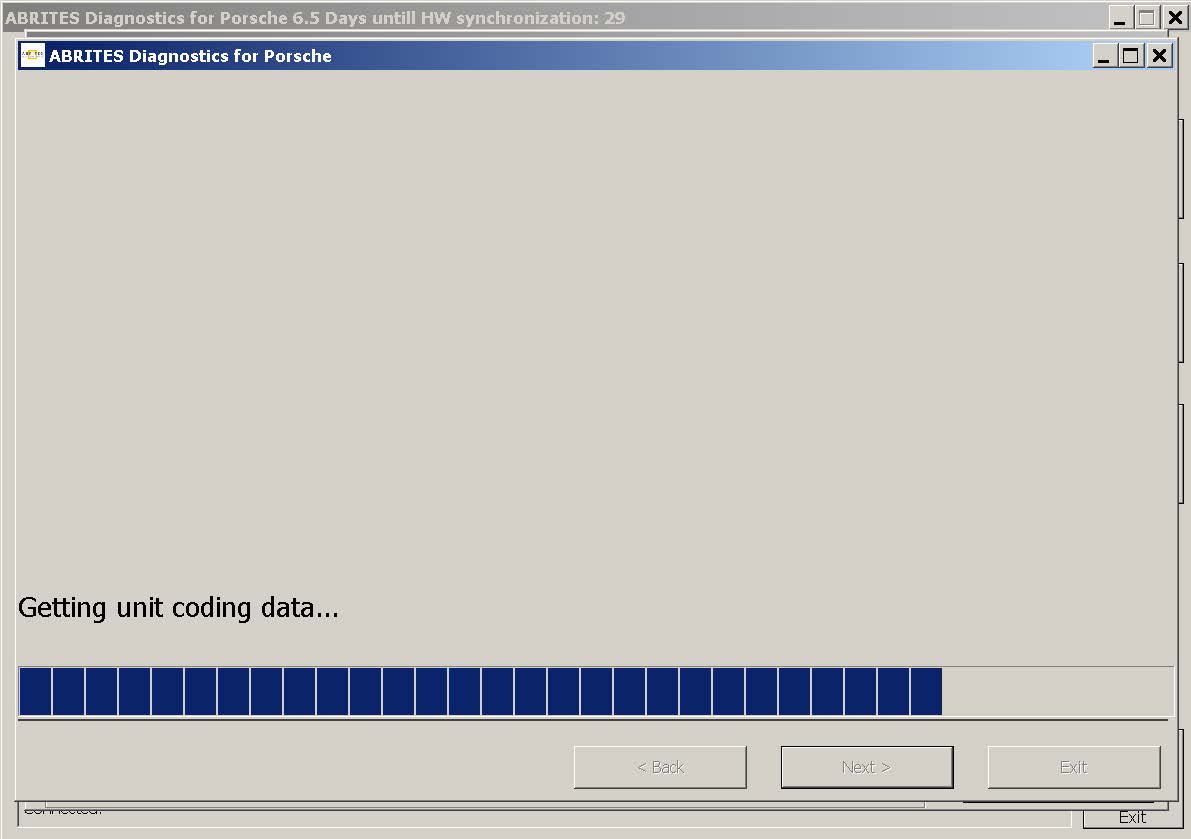
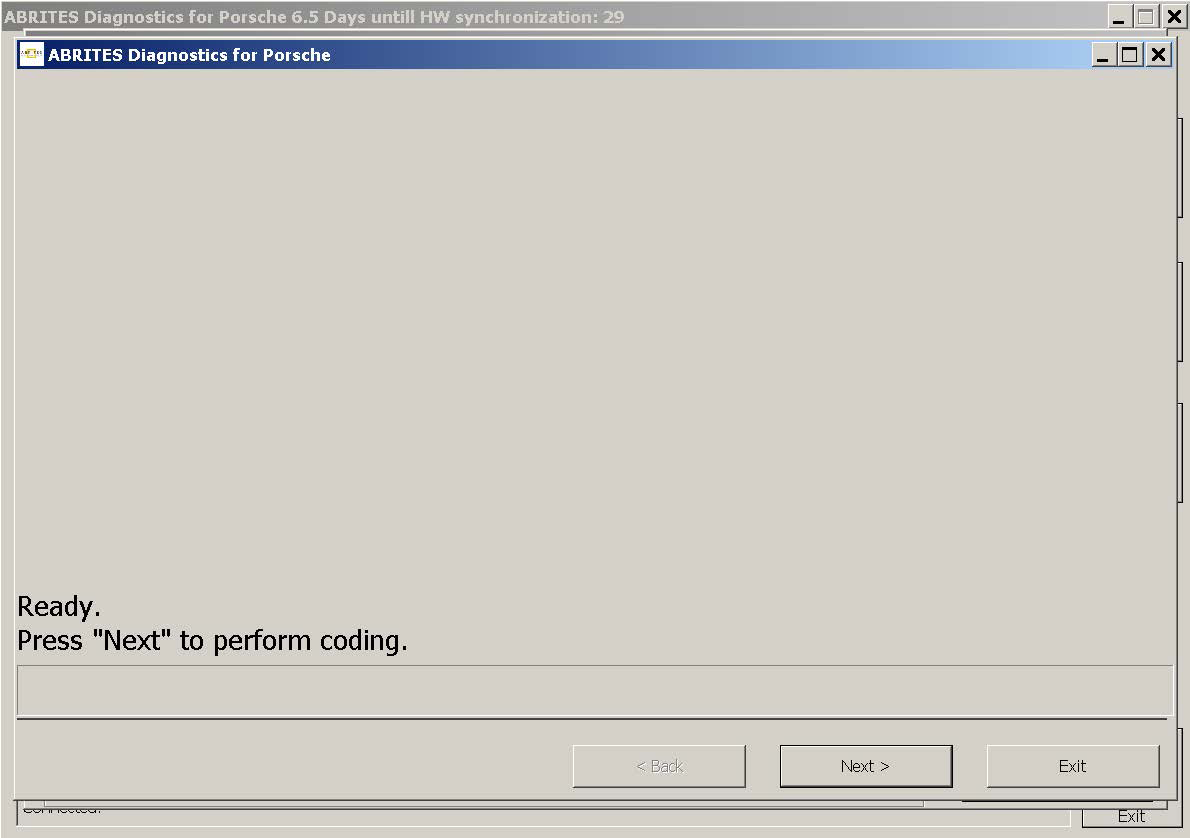
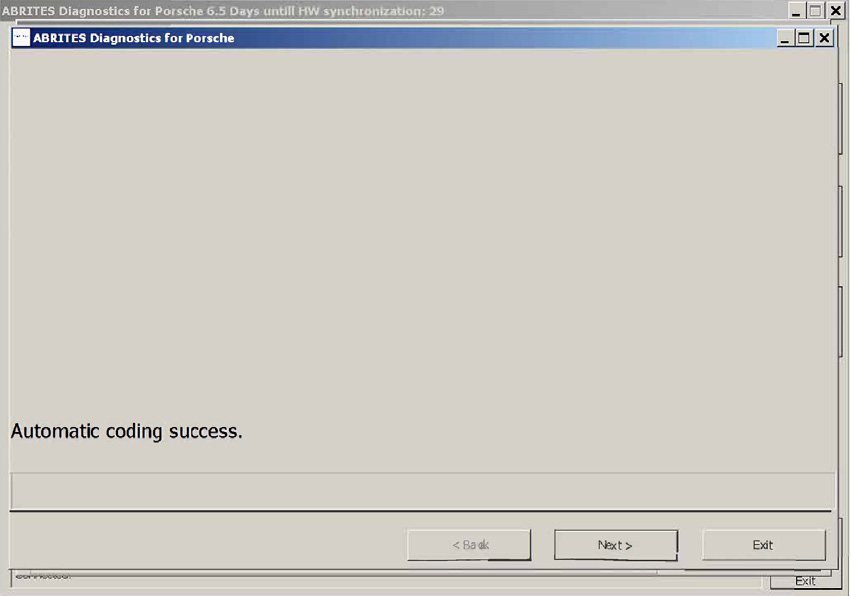
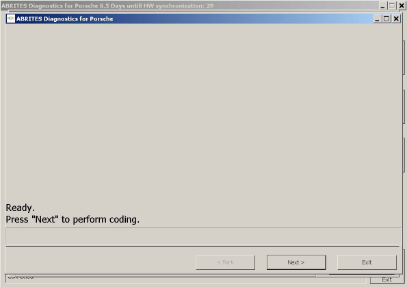
After you select “Automatic coding” and press “Next” the program will read vehicle configuration, calculate unit’s default coding (have in mind that you will need internet connection for that) and if everything is OK, guide you to the page where you can select to execute the coding or not by pressing
“Next” or “Exit” (“Next” will do the coding).
3.3.3.3 Coding – Manual coding
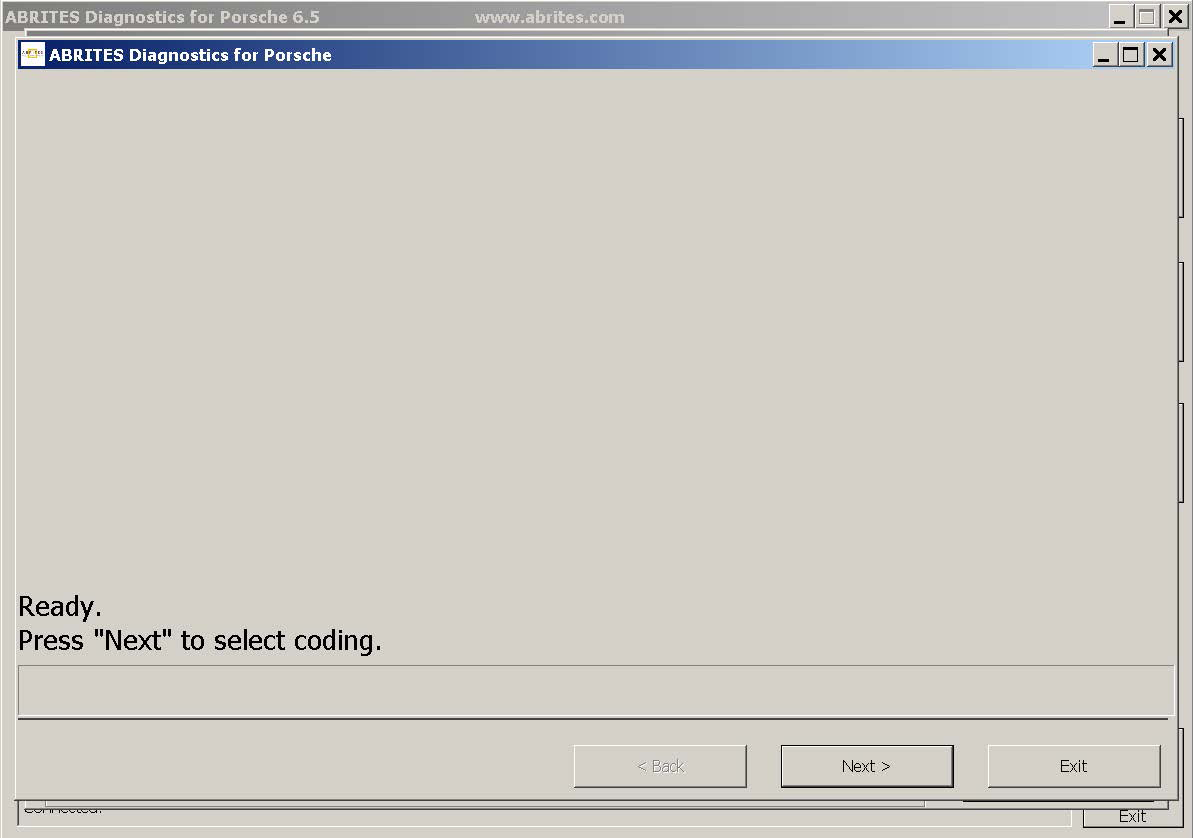
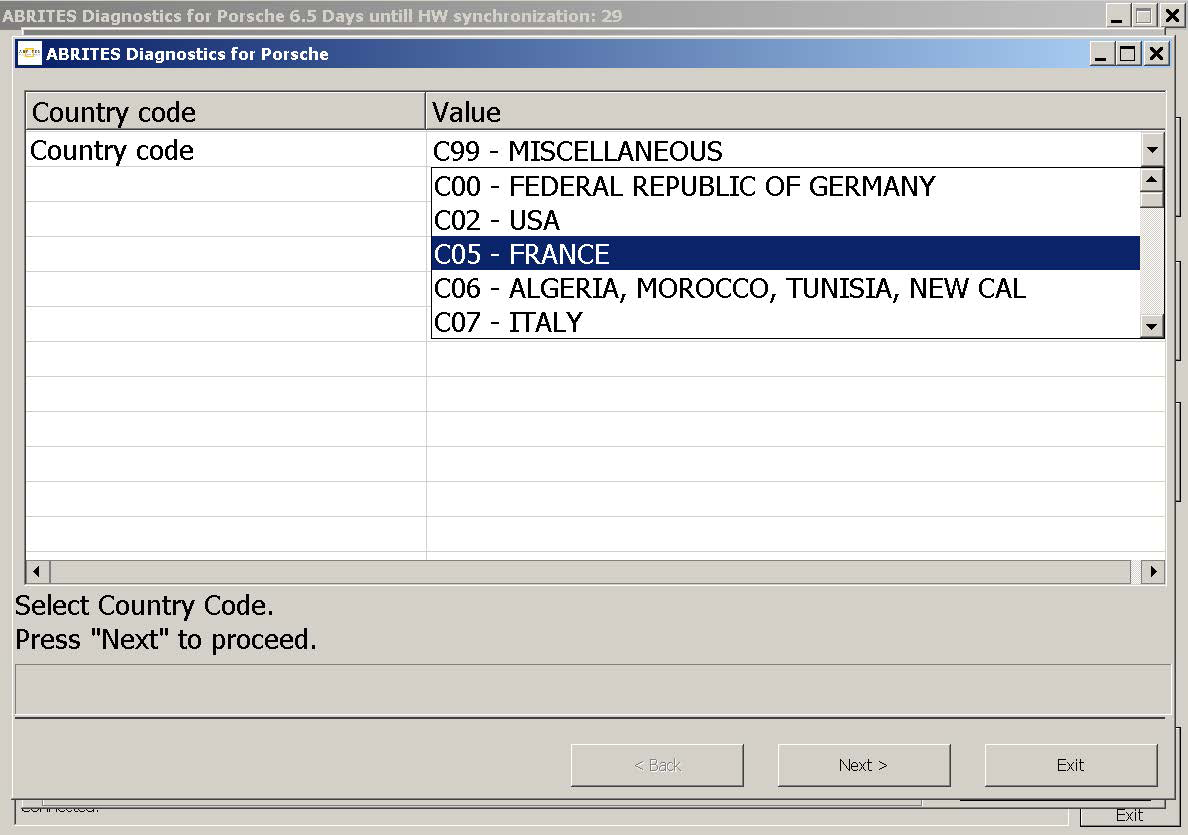
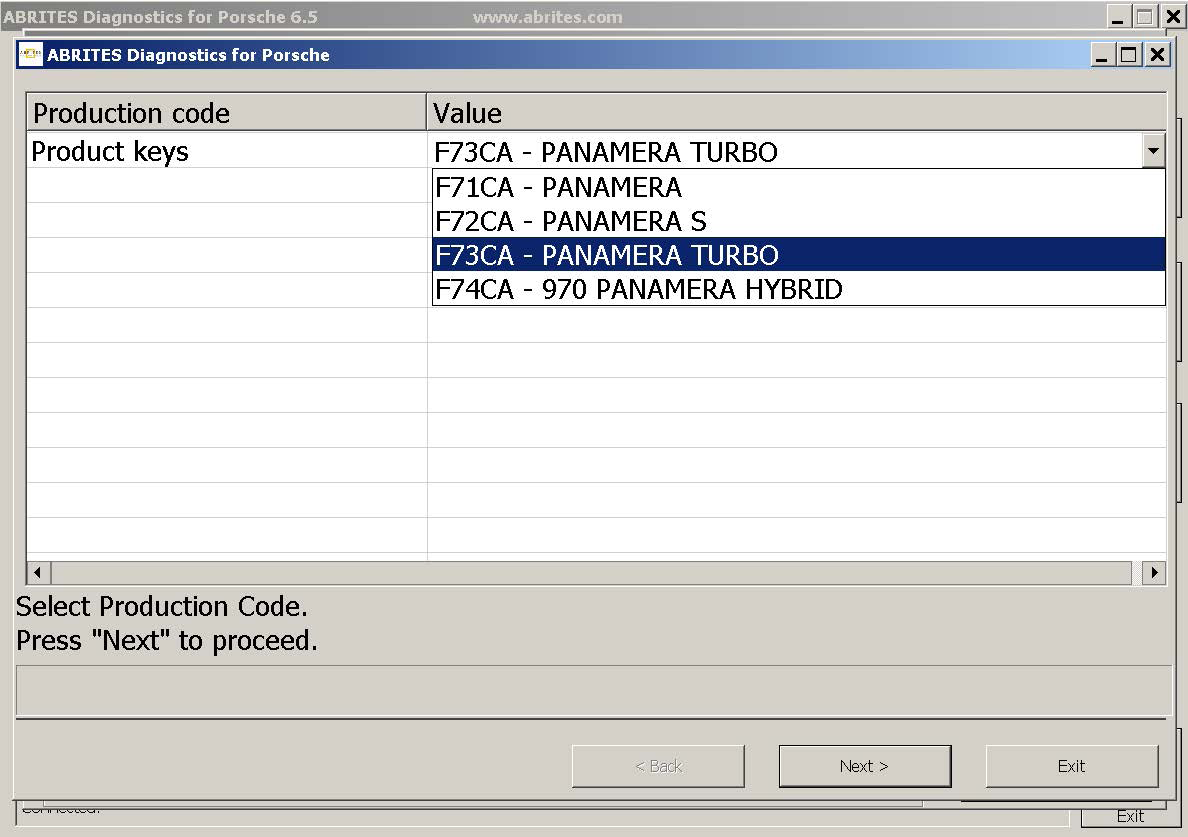
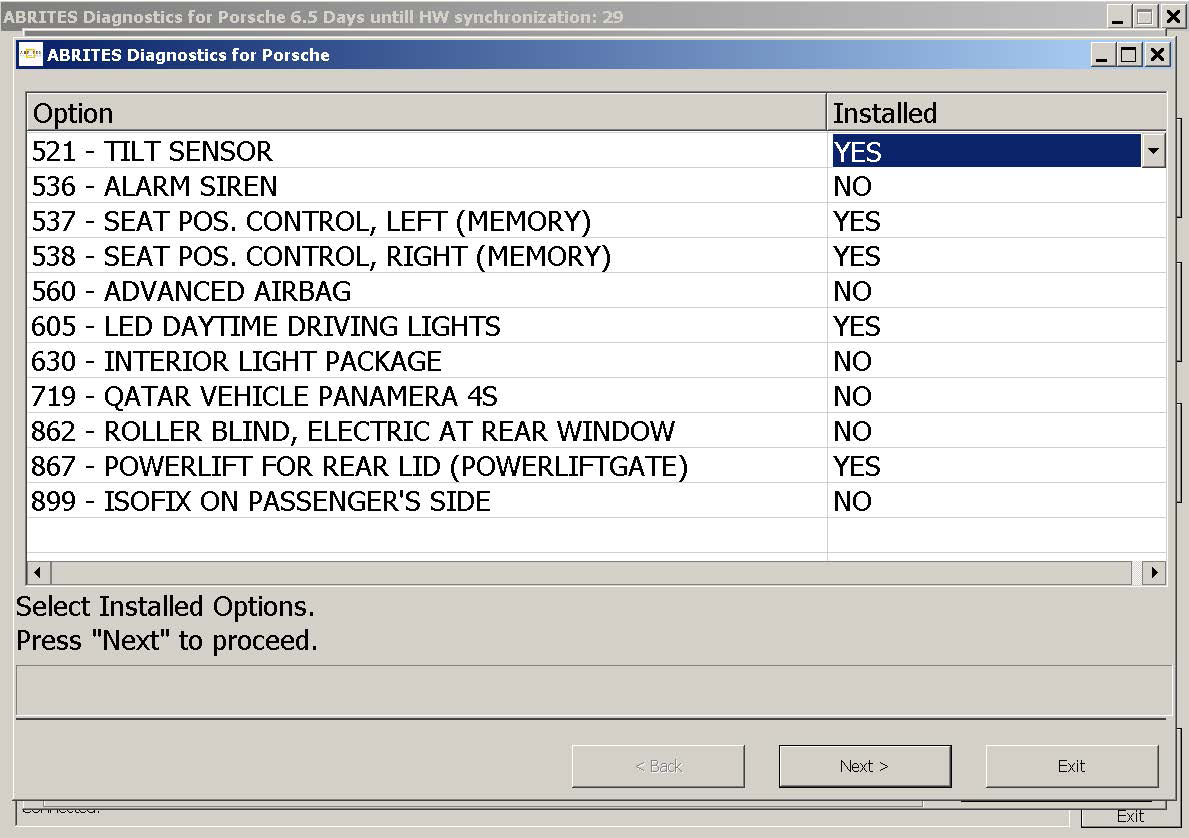
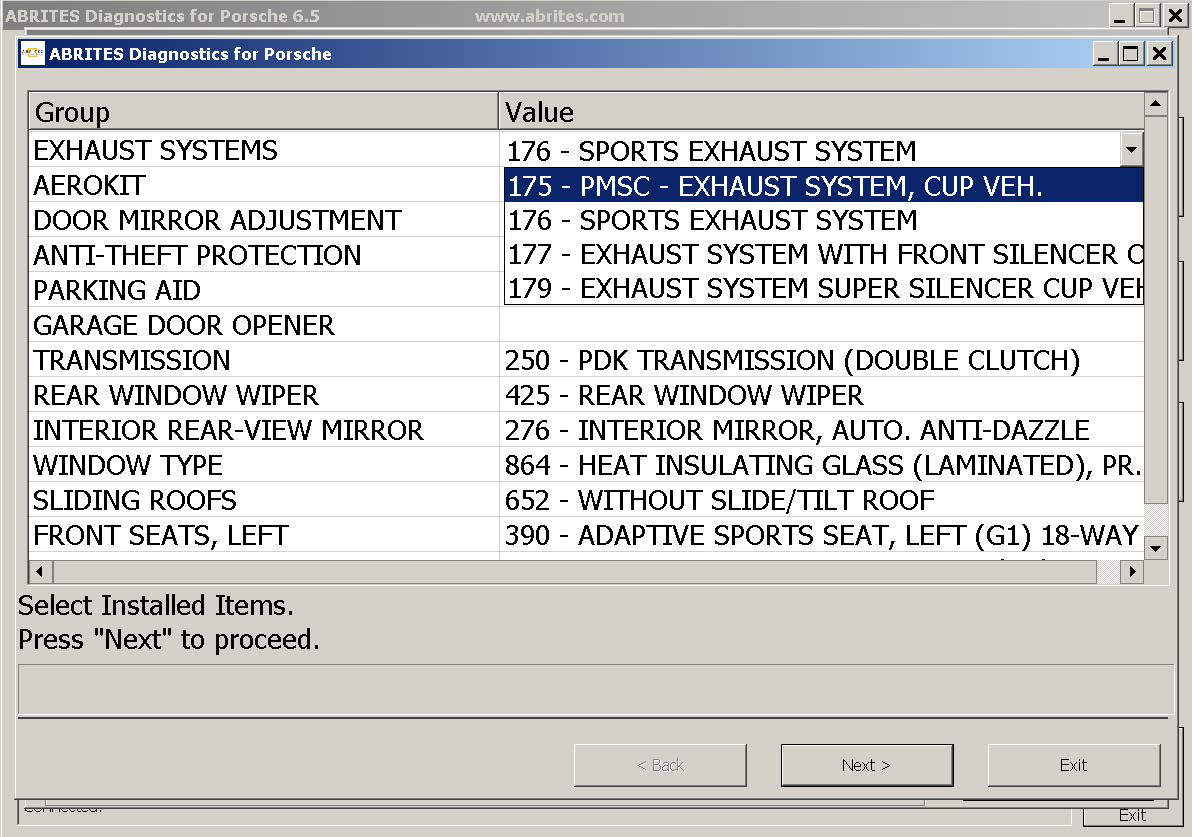
Use this function when unit is not coded or coding is faulty (there is usually DTC indicating this). This function will calculate unit’s default coding according to vehicle configuration set from user and write it into the unit.
You can use “Coding – Settings” after that to change user specific settings.
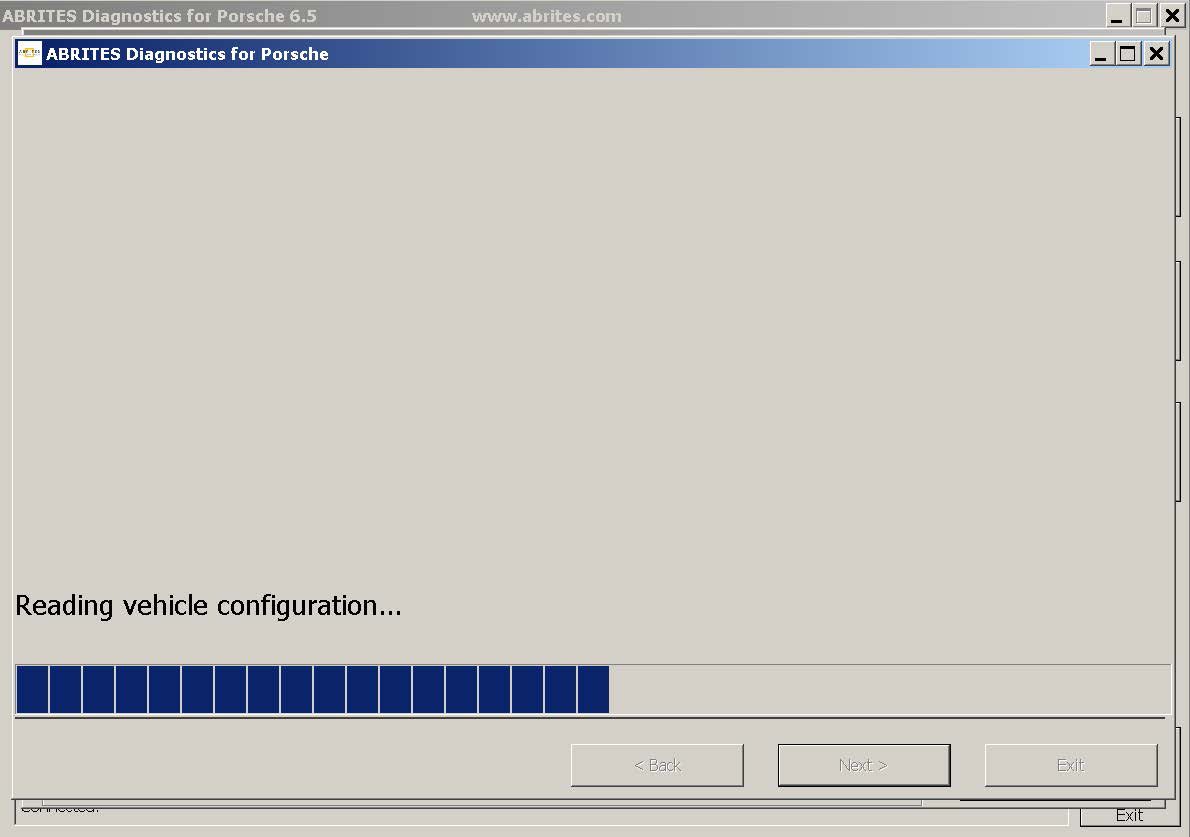
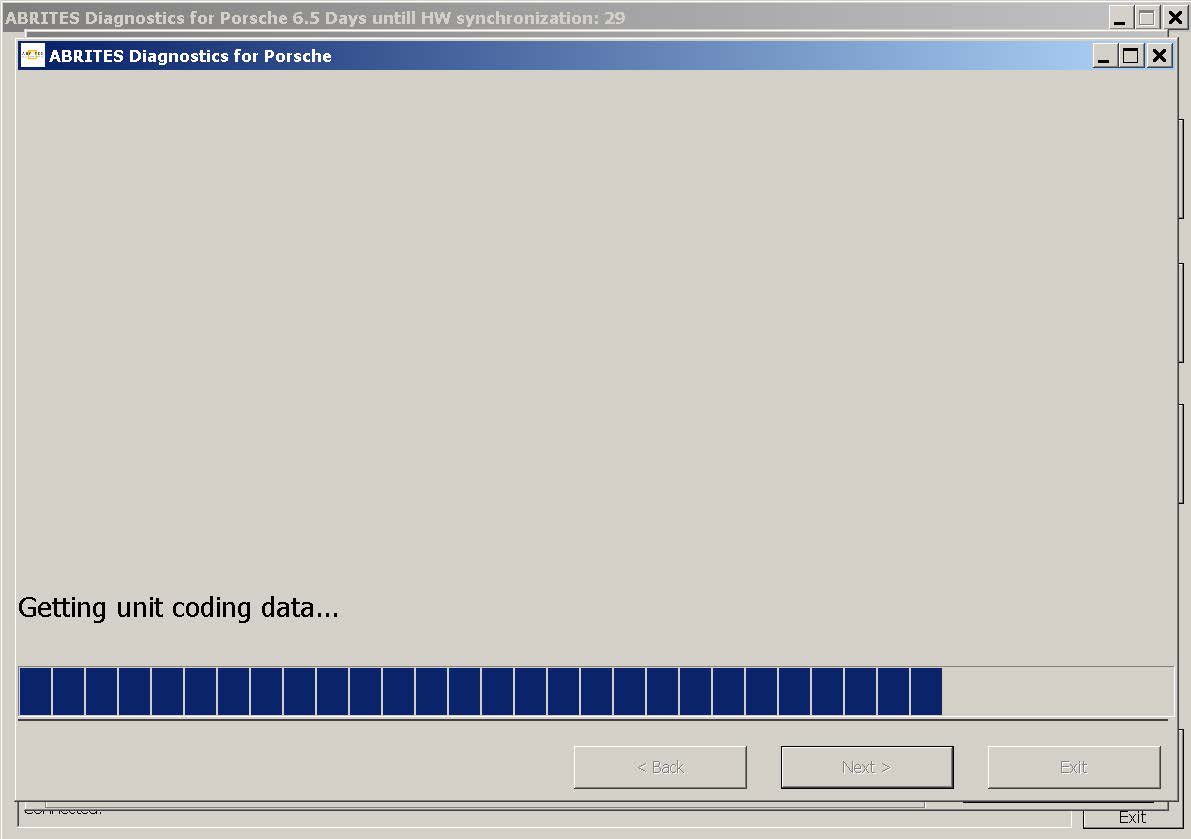
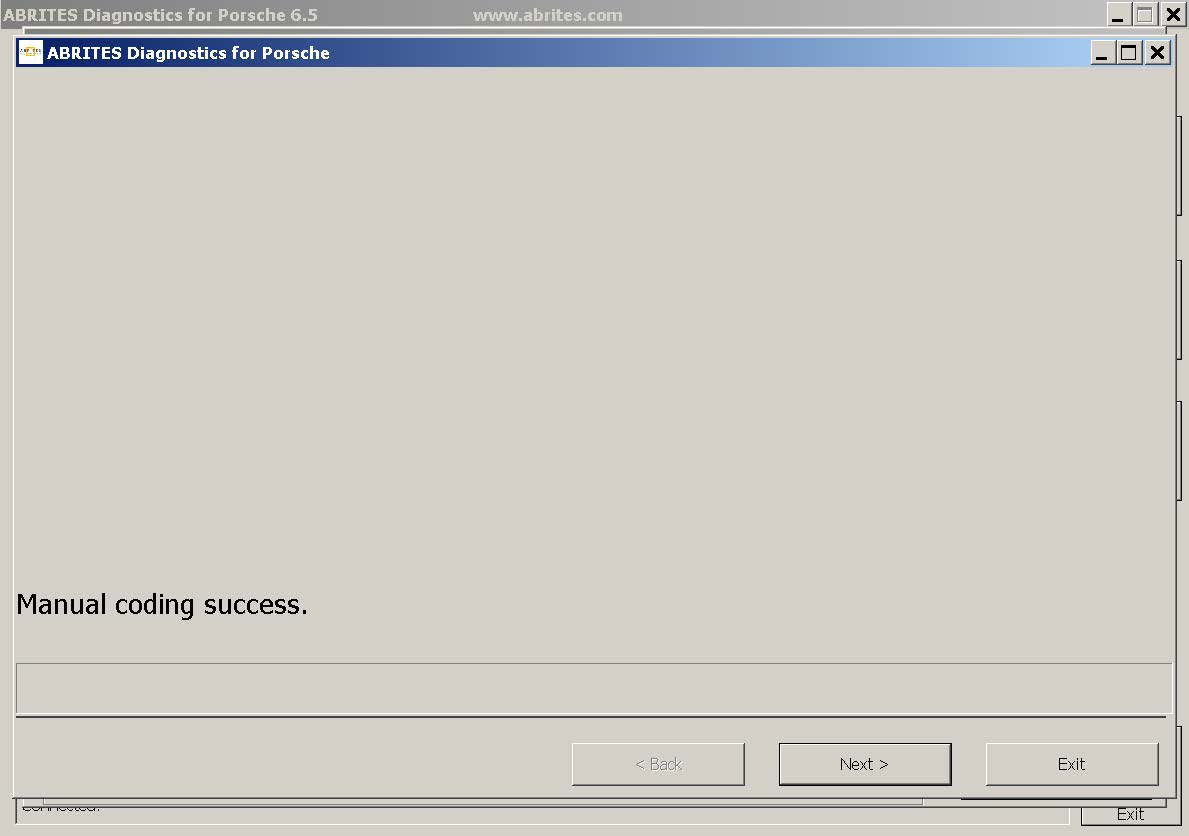
After you select “Manual coding” and press “Next” the program will give you the options to select vehicle configuration, calculate unit’s default coding (have in mind that you will need internet connection for that) and if everything is OK, guide you to the page where you can select to execute the coding or not by pressing “Next” or “Exit” (“Next” will do the coding).
ATTENTION! Use “Manual coding” carefully. You have to be sure that you choose the correct vehicle configuration options otherwise the calculated coding might not be correct and brake the unit.
3.3.3.4 Coding – Automatic coding from file
After “Automatic coding” or “Manual coding” has been performed, each time the coding information before the coding is done is saved into a file into the log files directory so in case of wrong coding result the previous coding could be turned back into the unit by using this function.
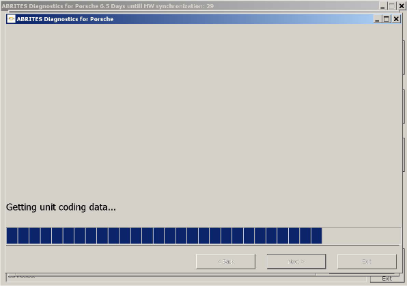
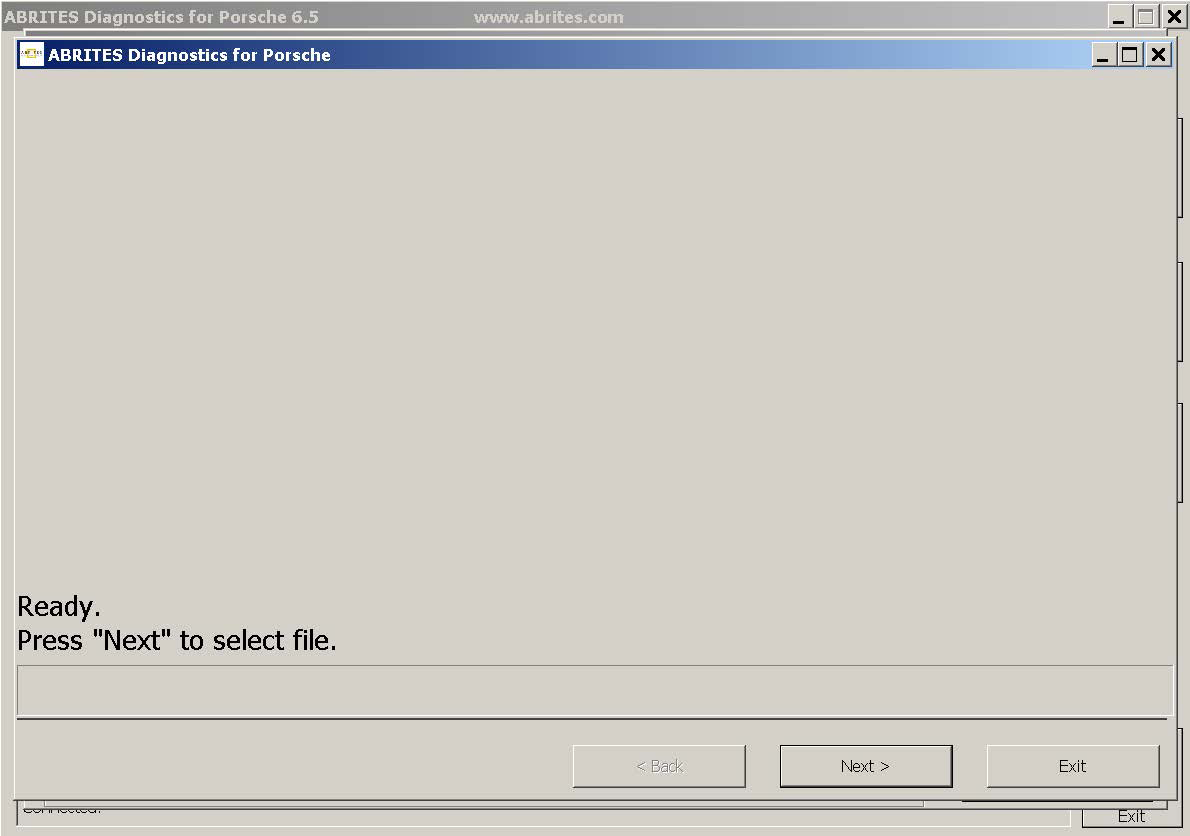
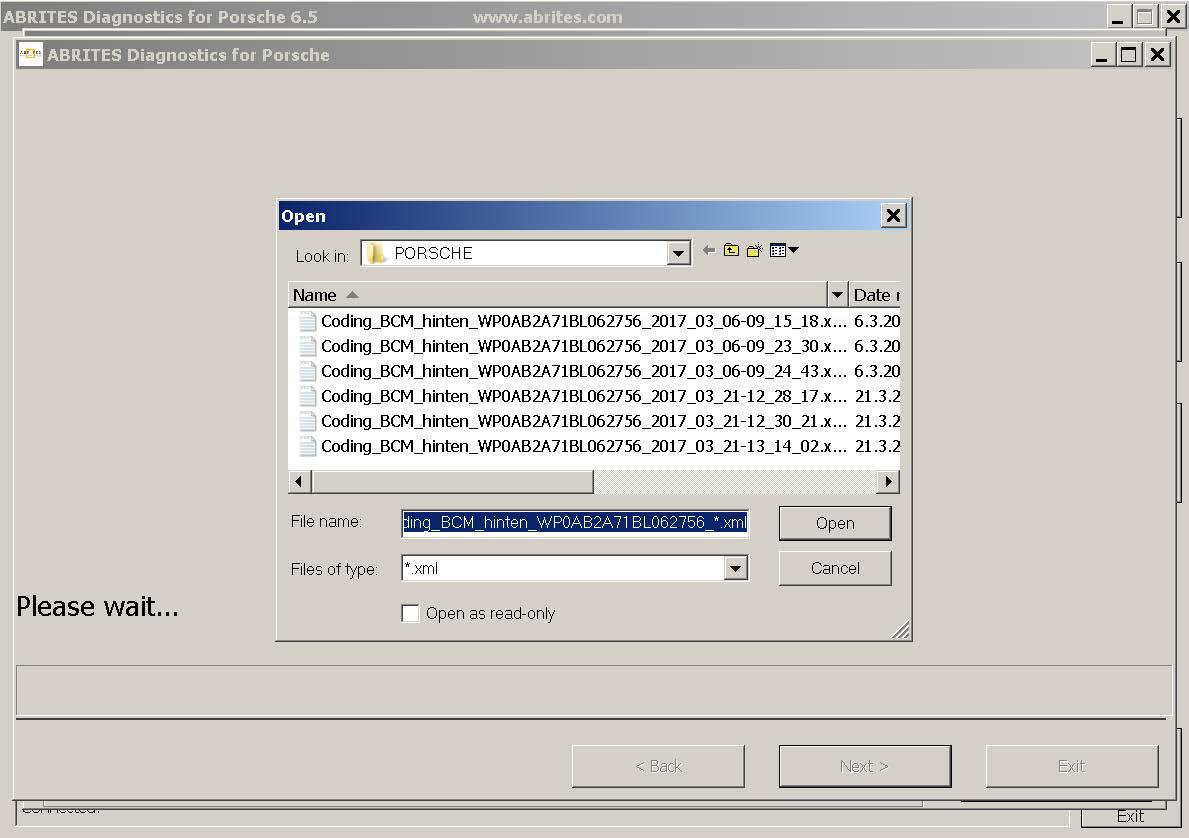
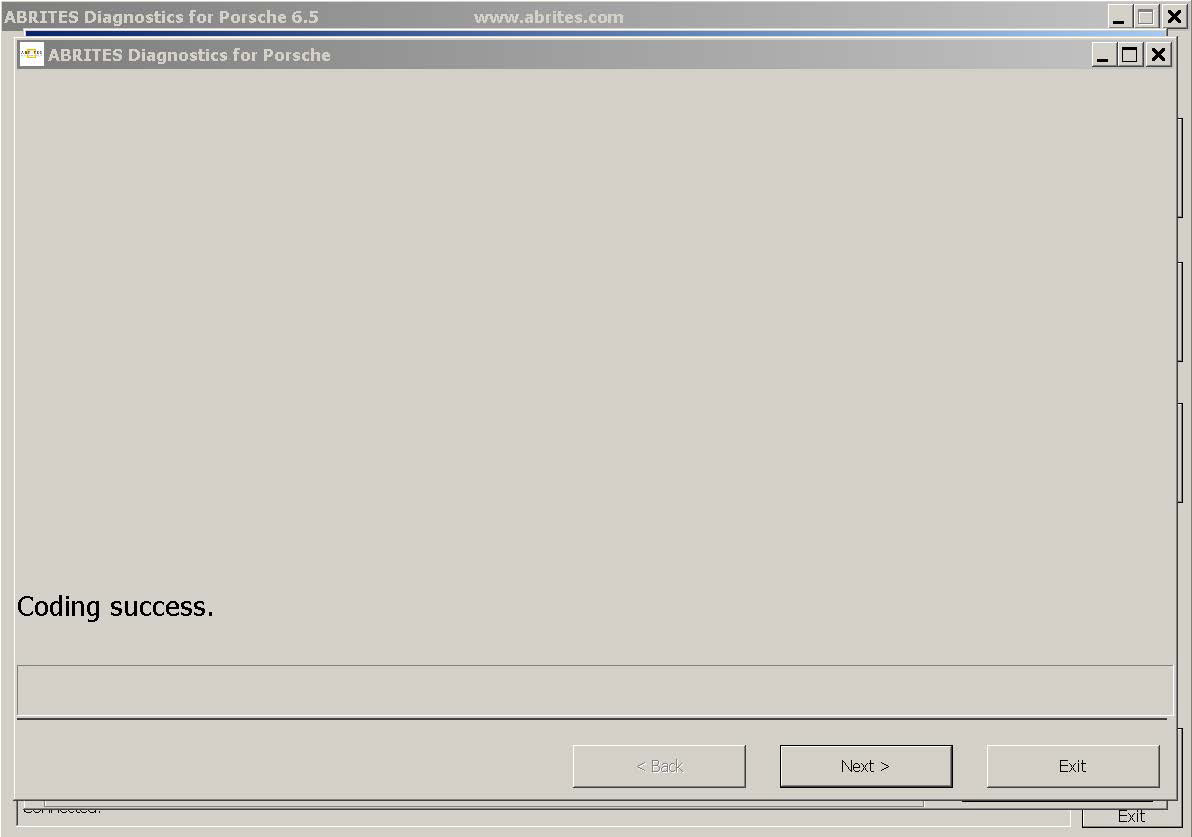
After you select “Automatic coding from file” and press “Next” the program will read vehicle configuration, download unit’s coding information (have in mind that you will need internet connection for that) and if everything is OK, guide you to the page where you can select the file which should be used for coding (file’s name contain VIN number, unit name, date and time of creation). Pressing “Next” will show the page where you can select to execute the coding or not by pressing “Next” or “Exit” (“Next” will do the coding).
Actuator tests
This function will provide you the opportunity to perform some test of certain unit’s functionality.
When button “Actuator tests” is pressed a new dialog appears where are listed the categories of tests which can be performed.
Here is an example with “Instrument Cluster” of Porsche Boxster (987):
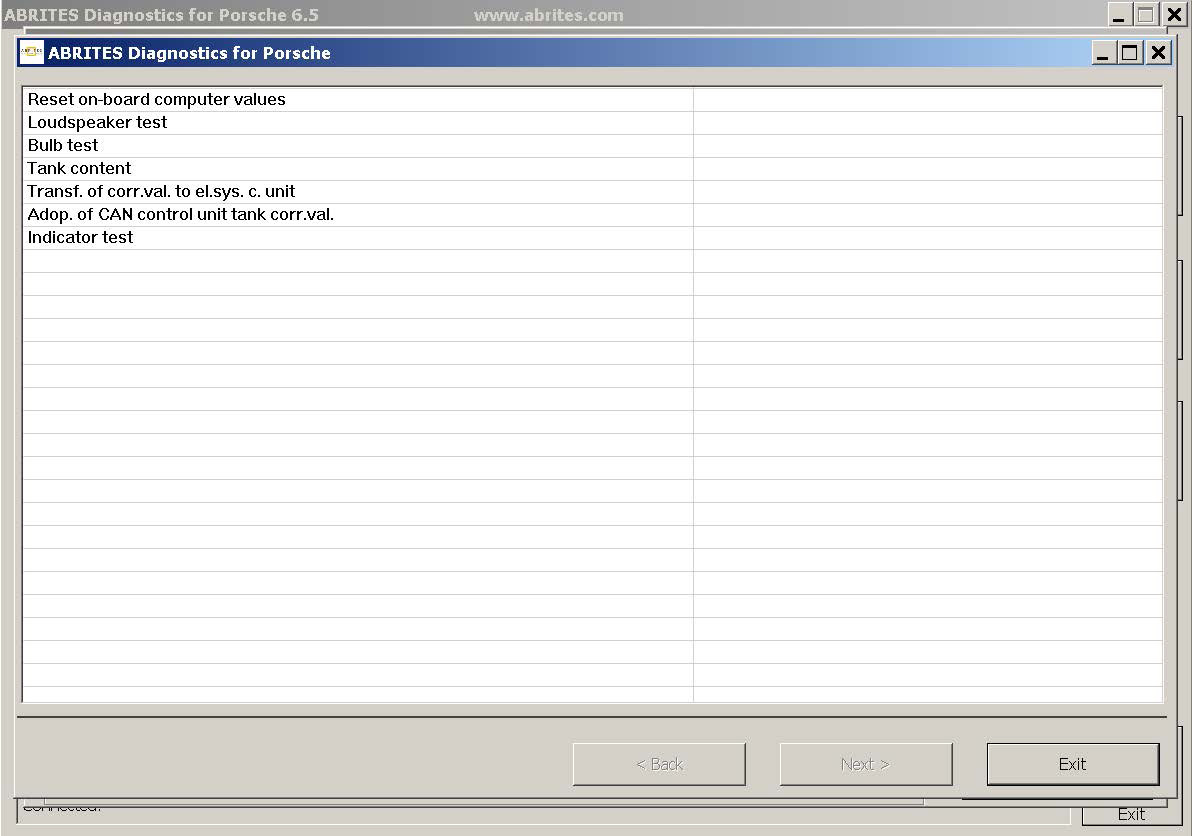
After “Loudspeaker test” is selected and “Next” button is pressed the following window appears
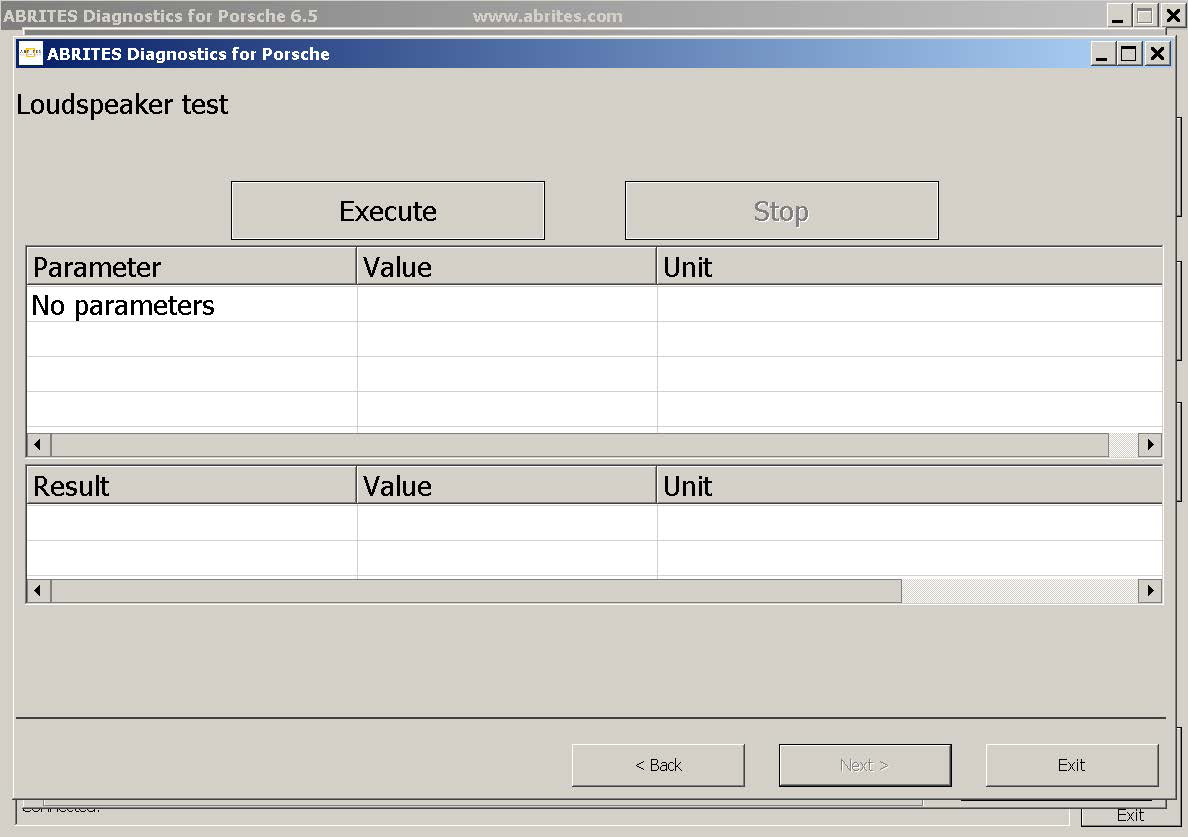
Press “Execute” to start the test.
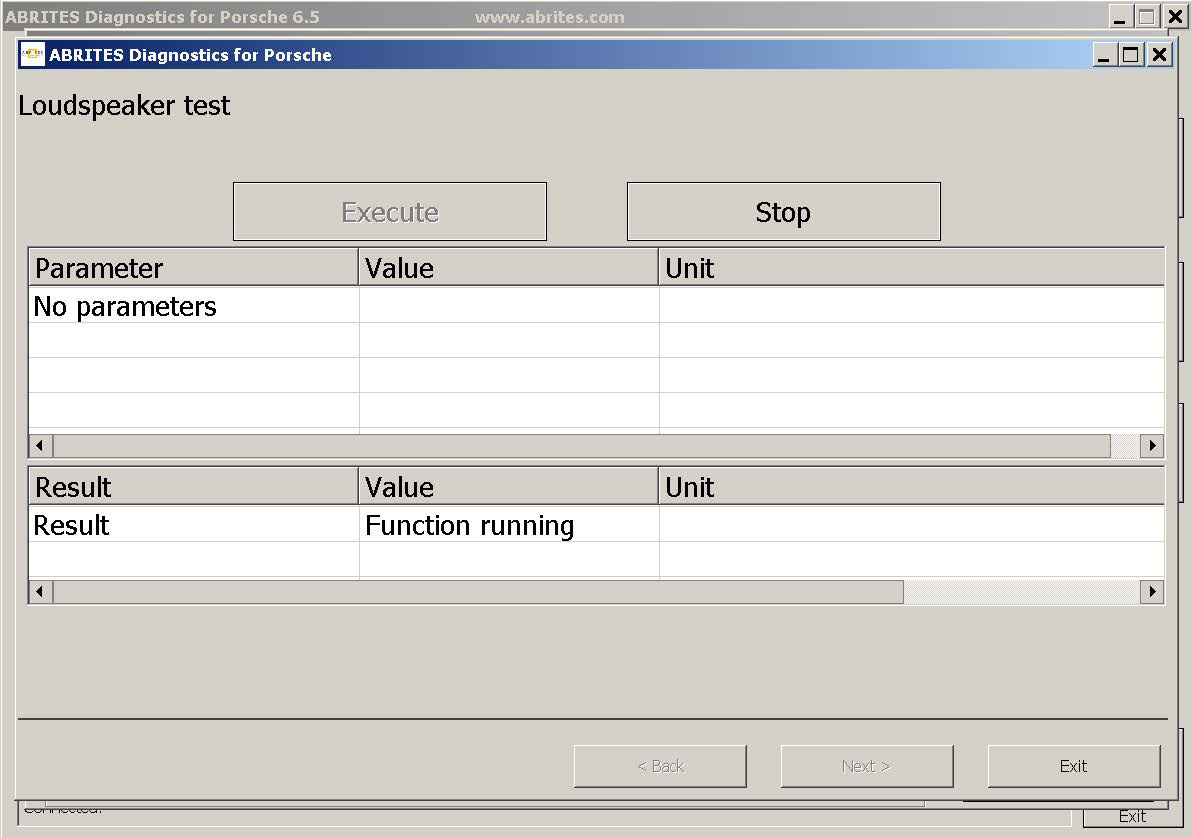
Press “Stop” to stop the test.