Setting the correct mileage on a replacement dashboard
This procedure is required when you need to replace a faulty dashboard and set the correct mileage on the replacement module.
Supported models
- Dacia Jogger
- Dacia Sandero III
- Dacia Logan III
- Renault Trafic III phase 2
- Renault Kangoo III
- Renault Express II
Procedure
1. Read the mileage by OBD II
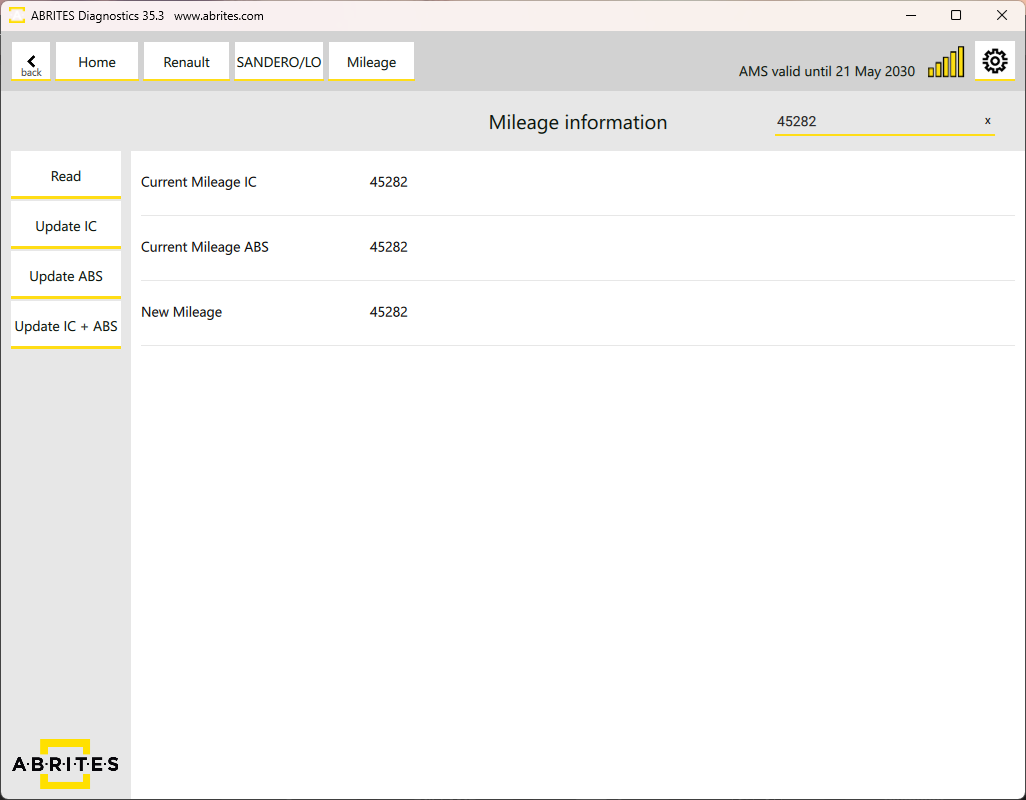
Connect the vehicle via OBD II. Open the Renault Online software > "Mileage" button > select the "Read" button, then follow the on-screen instructions. The software automatically reads the values in the ABS and cluster modules.
2. Set the new mileage
When the values are visualized, select the "New Mileage" value and set the desired value in the top right field, then press "Enter" > Update IC + ABS:
As soon as the process finishes, two files are saved automatically on your computer in the Renault log file folder (flash and config):
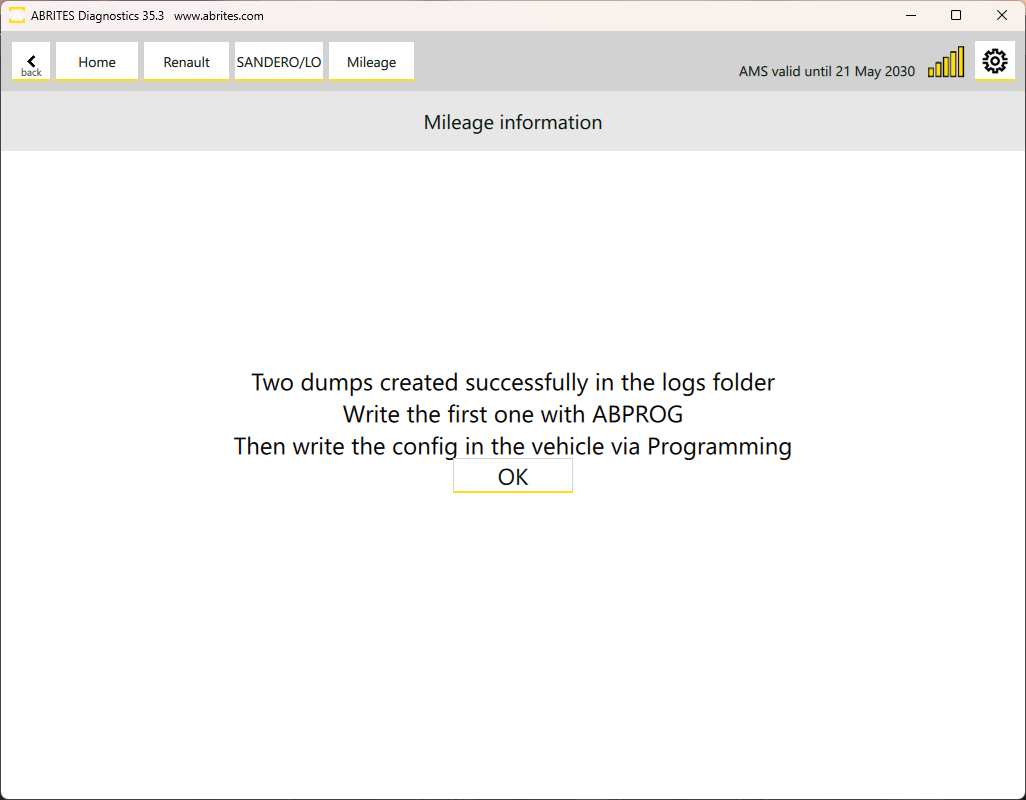
The files should look like this:

3. Connect the cluster on bench
Take the cluster out of the car and connect it on bench as shown in the software wiring diagrams (Front and Back side), using the ABPROG and the ZN093 adapter:
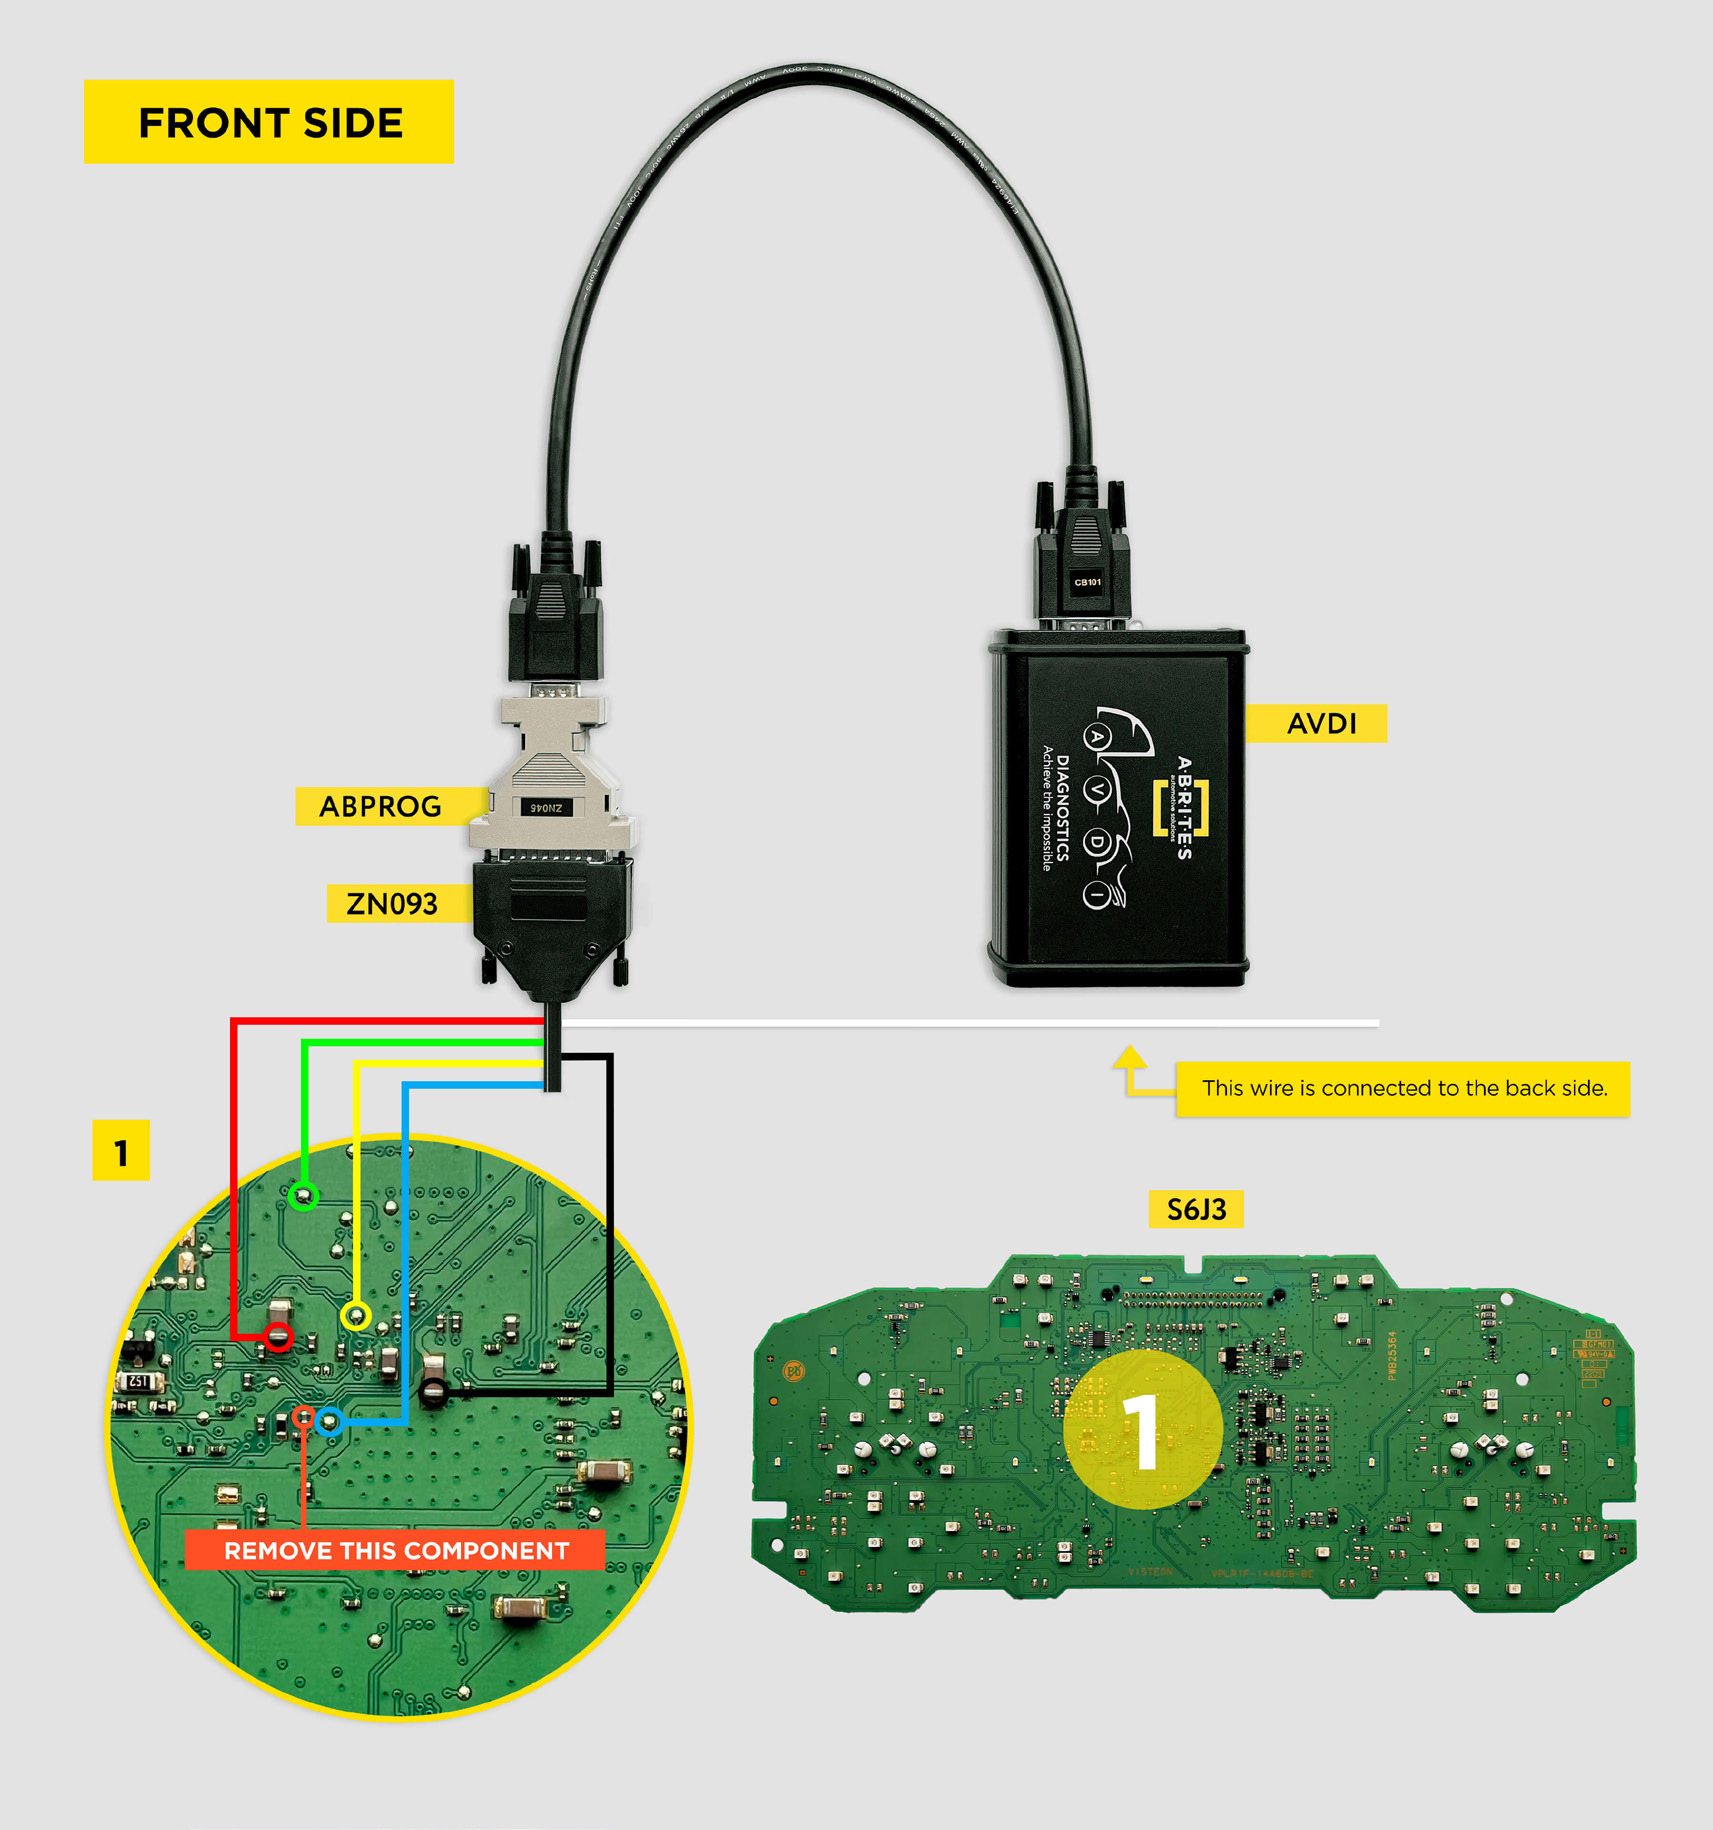
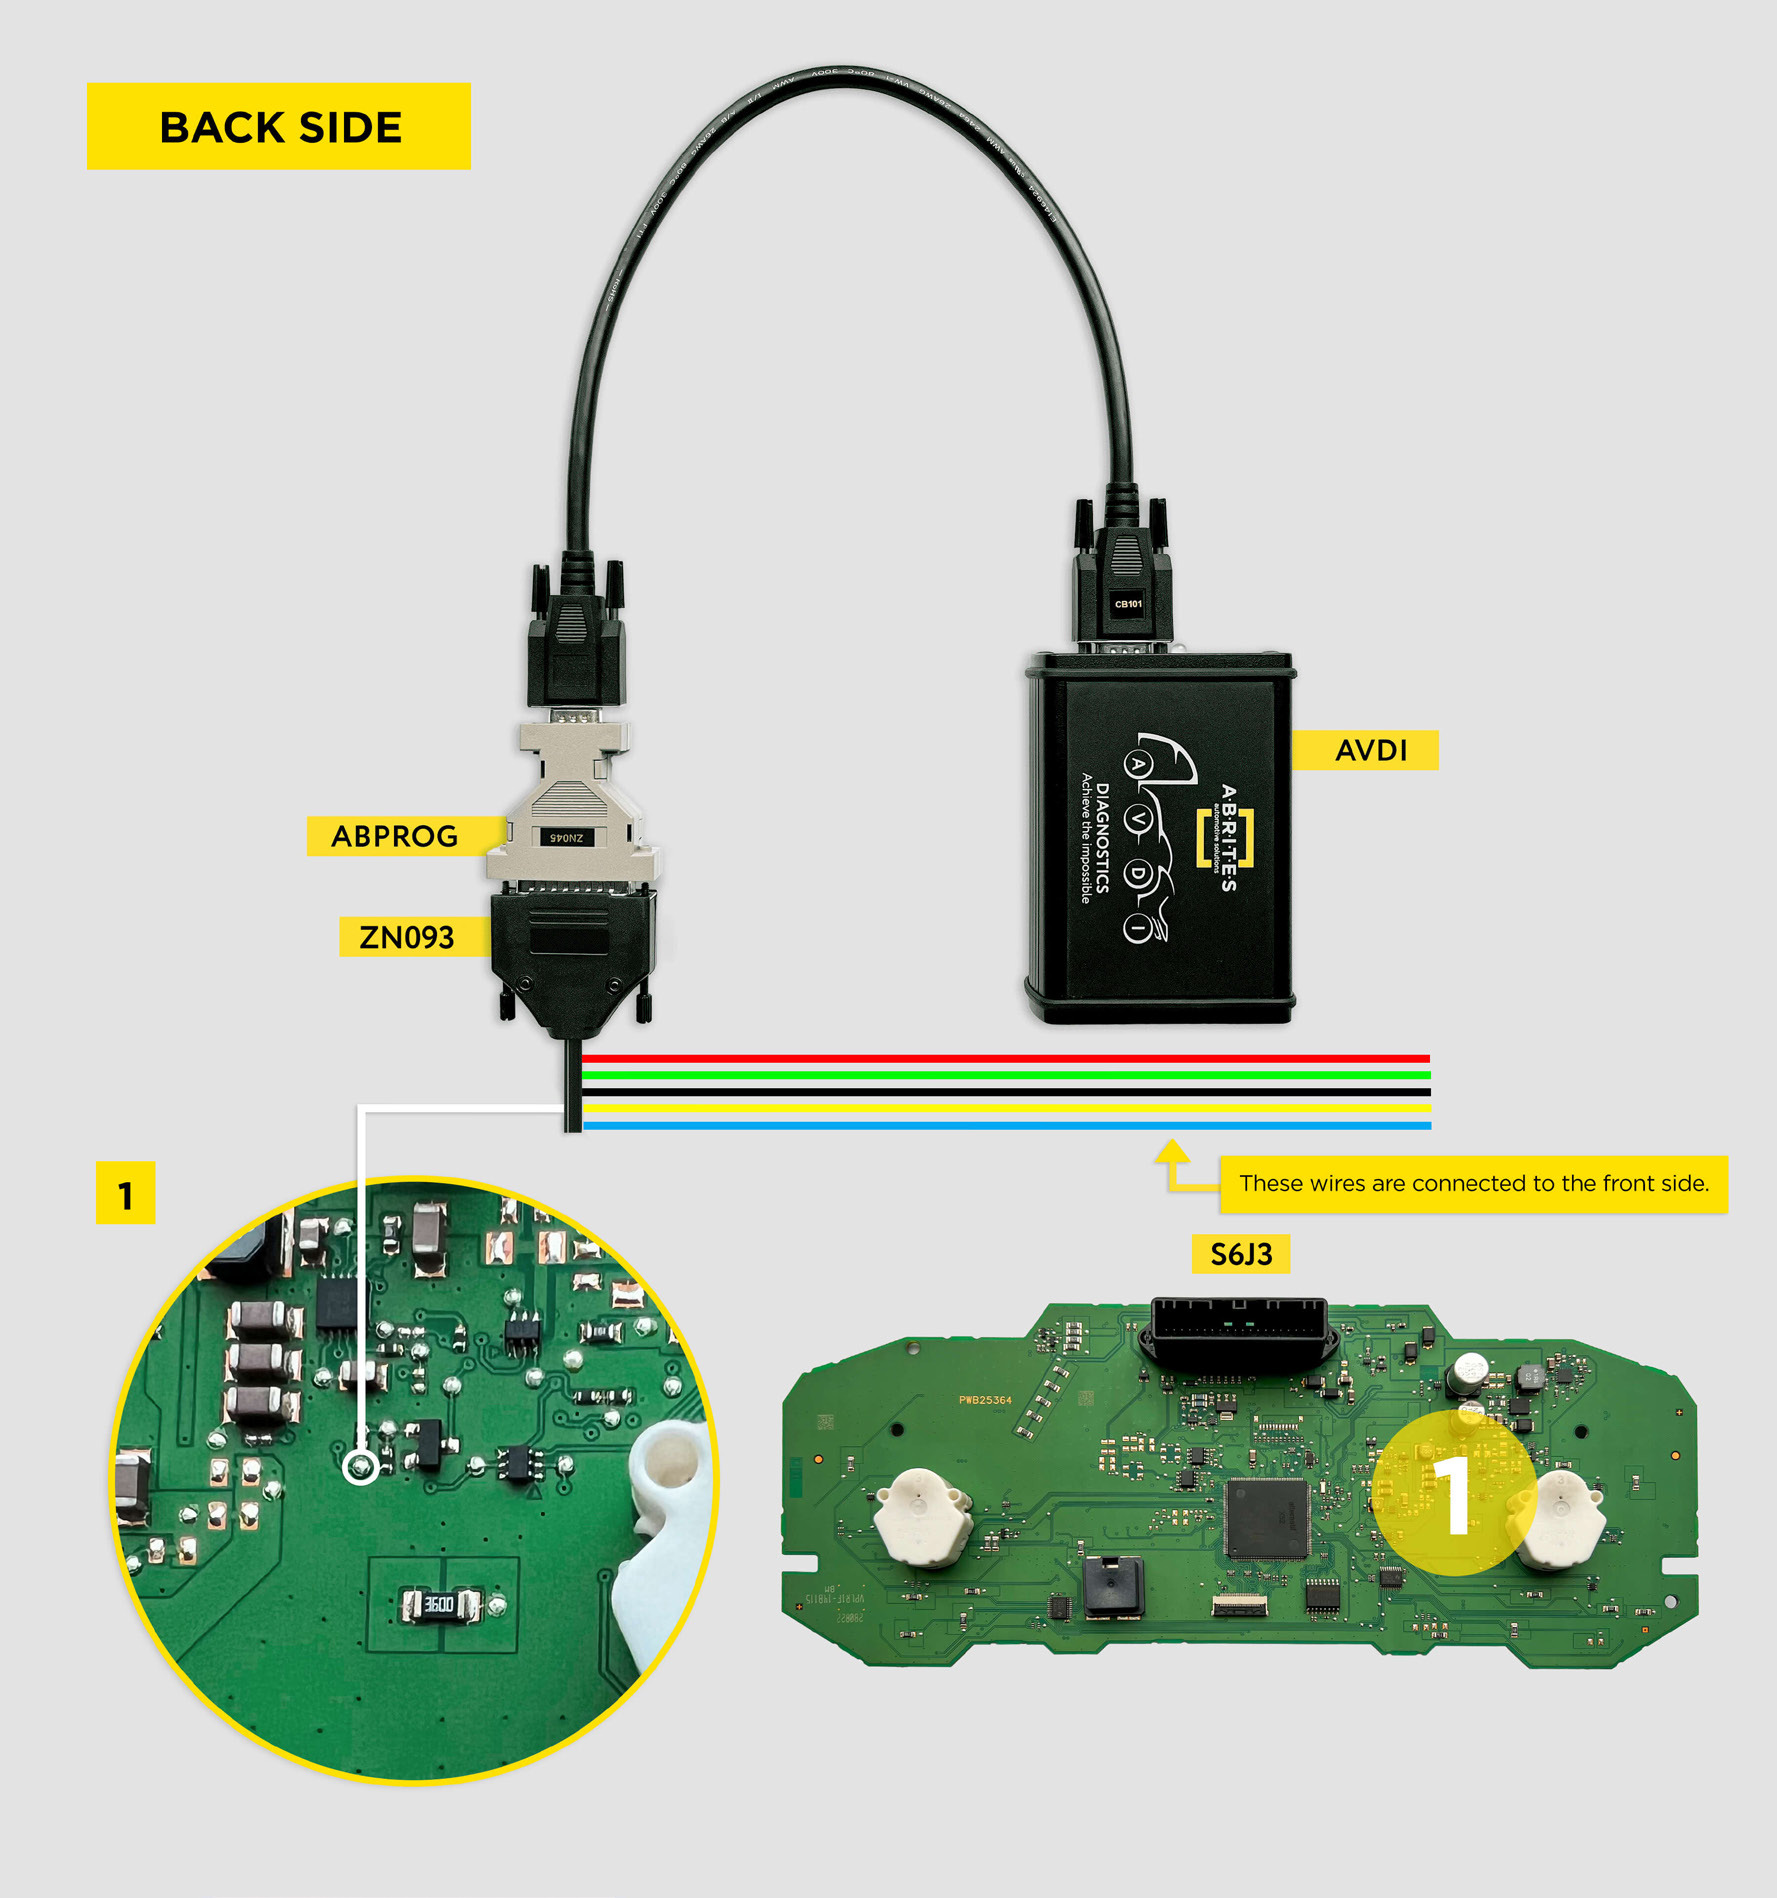
Be careful and make sure you work with the module according to the wiring diagrams. Front and back sides are important to distinguish - solder the correct wires to the relevant sides, remove the correct components, then return them to their places.
4. Write the flash
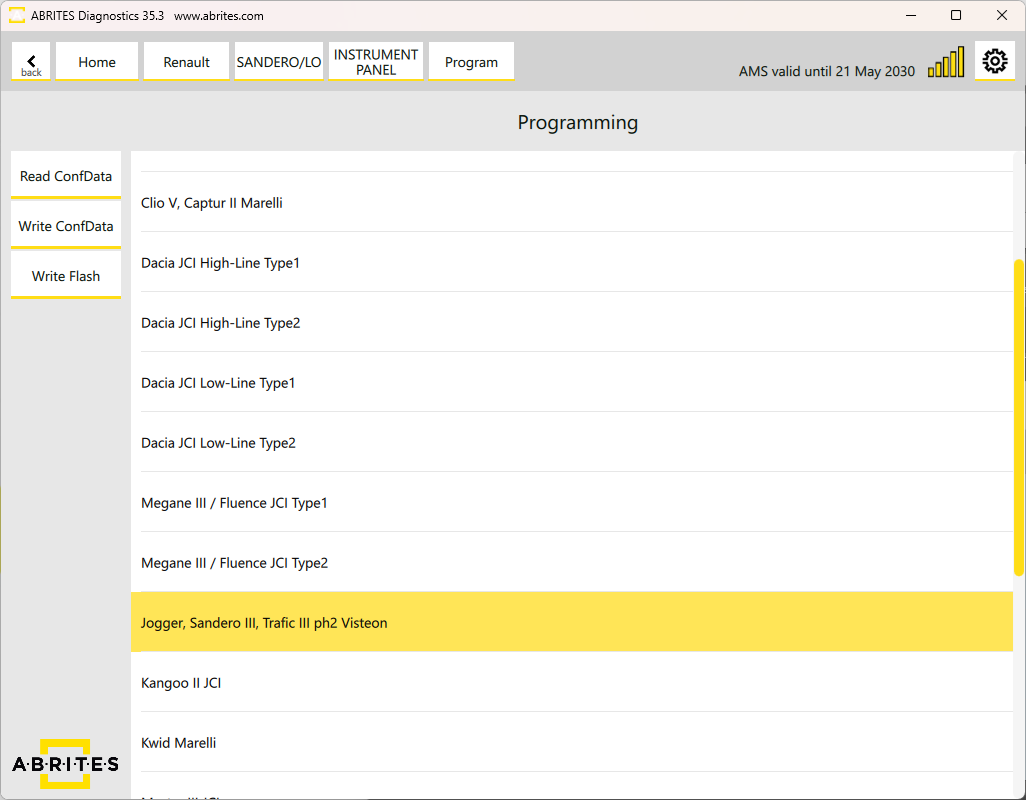
When ready, open the Programming menu > Instrument panel > select the "Jogger, Sandero III, Trafic III Ph2 Visteon" option > select "Write Flash". Select the dash_jogger_visteon-xxxx xxxx xxxx.bin file.
When the writing of the dash memory finishes successfully, the dashboard is calibrated correctly.
5. Refit the dashboard and write the ConfData
Return the previously removed components, assemble the dashboard and take it back into the vehicle.
Connect the vehicle by OBD again, open the Renault Online software, select the "Programming" menu > Instrument panel > "Jogger, Sandero III, Trafic III Ph2 Visteon" > "Write ConfData". Load the second file saved in the Renault Log folder - dash_jogger_visteon-config-xxxxxx-xxxxxxx.bin.
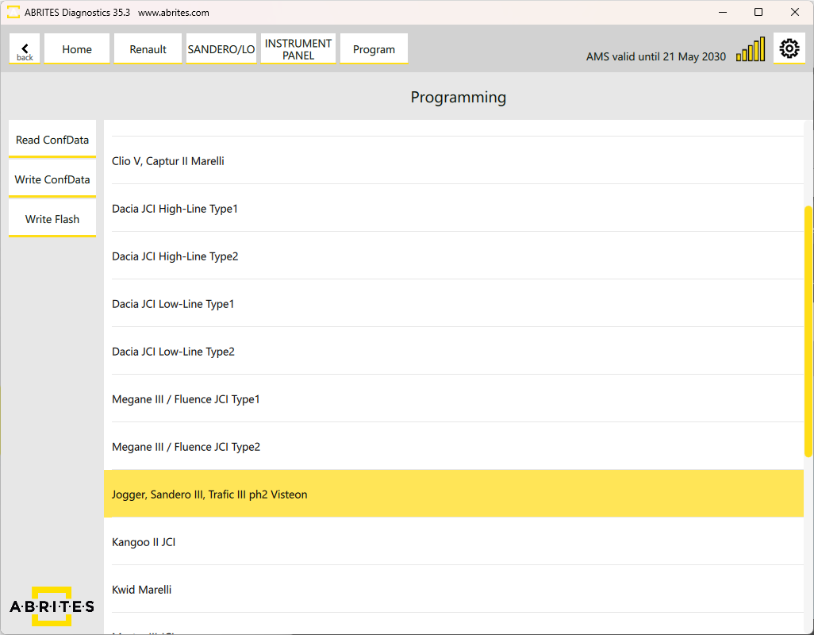
With these steps the dash calibration is finished successfully.