ZN087 - ABRITES cable set for Tesla Model S/X and Model 3 is used when connecting to all supported Tesla models.
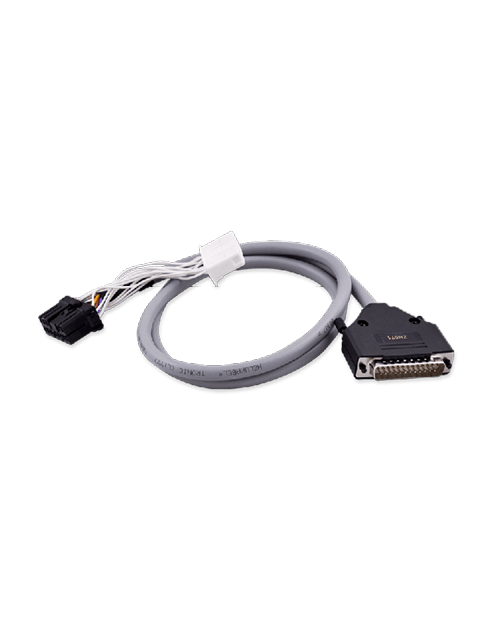
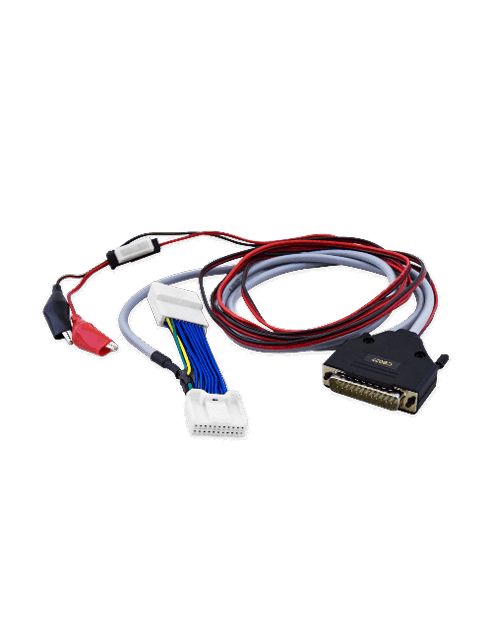
The ZN087 is a cable set designed, developed and produced by Abrites for working with Tesla vehicles. This set contains two diagnostic cables; one for the Tesla Model X/S (the ZN071 cable) and one for the Model 3 (the CB027 cable).
CB027 - One of the connectors is used for connecting to the internal CAN-BUS of the car. The other connector has crocodile type connectors to provide power to the AVDI through the vehicle’s 12V battery Compatibility - Model 3 (2017-2021)
ZN071- The adapter is used to connect to the diagnostic connector of the vehicle - the black connector is used for the old type diagnostic port and the white connector is used for the new type diagnostic port Compatibility - all Model S/X vehicles
When connecting to a Tesla vehicle it is extremely important to adhere to the following steps in order to avoid possible damage to the vehicle and your AVDI and PC.
Here is a list with the steps you MUST take before beginning work on a Tesla Model 3.
These must be completed before you connect the CB027 cable (part of the required ZN087 cable set).
-
Disconnect any charging cable
-
On the touchscreen, power off the climate control system, and wait at least 30 seconds for the climate control system to completely shut down
-
Make sure the vehicle is in Park
-
Fully lower all door windows to avoid glass shatter and door lockout conditions
-
Open the LH and RH rear doors, and then pass a shop towel halfway through each door striker to prevent the latch from securing
-
Remove the 2nd row lower seat cushion. See Seat Cushion - Lower - 2nd Row (Remove and Replace)
-
Remove the rear under-hood apron. See Under-hood Apron - Rear (Remove and Replace)
-
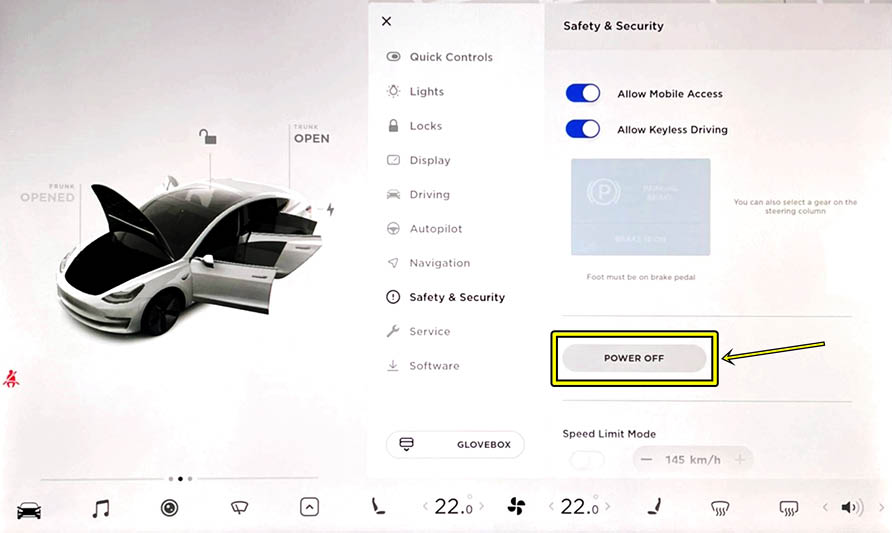
On the touchscreen, touch Controls > Safety & Security >Vehicle Power > Power Off
Caution: Do not proceed until the climate control system has been powered off for at least 30 seconds. Do not disconnect 12V power while the climate control system is operational
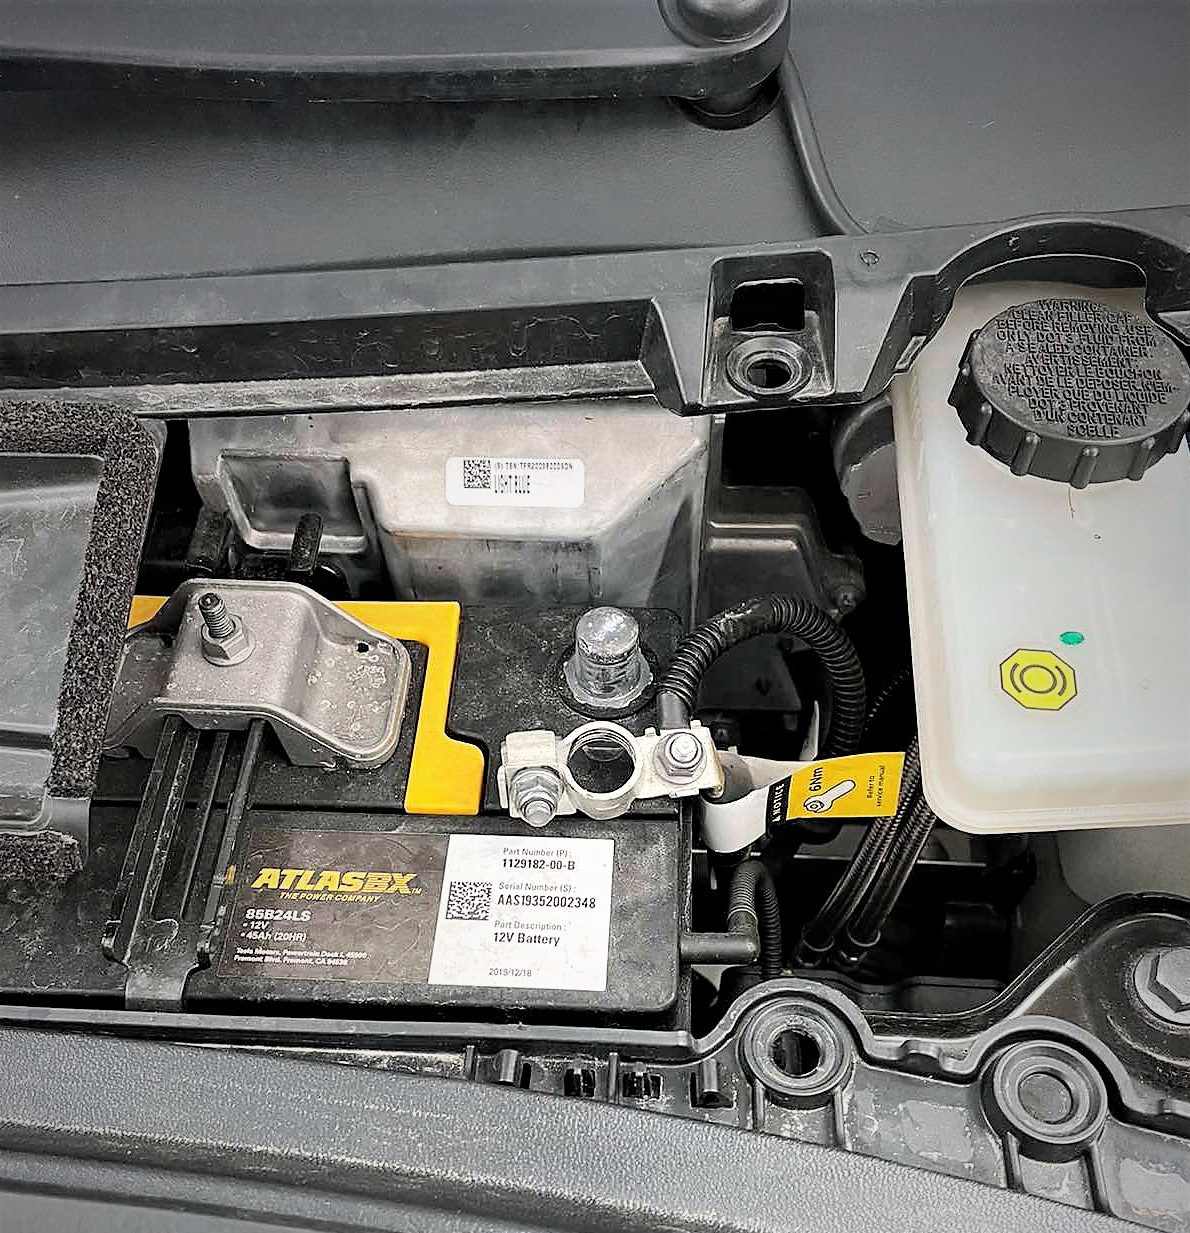
- Loosen the nut that attaches the 12V battery negative cable to the battery, and then disconnect the cable from the battery
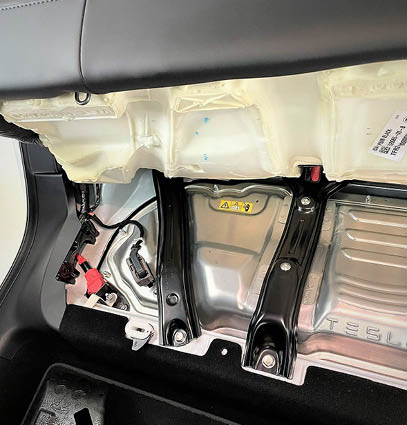
- Remove the foam cover from the RH side of the penthouse (back seats)
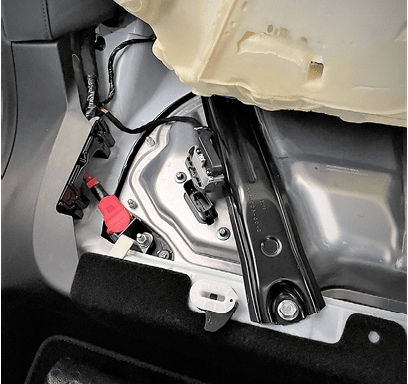
- Disconnect the electrical harness from the high voltage controller connector. Note: The HV battery positive connector and negative connector open with a clunking sound. This is normal.
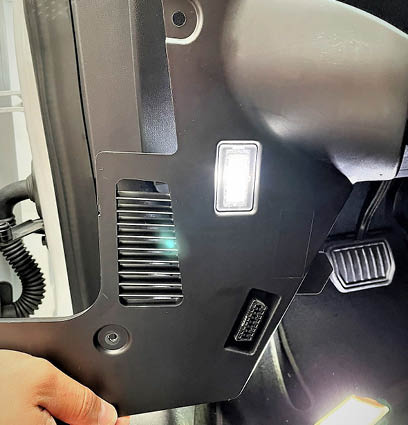
Once all of the safety measures are done (shutting off vehicle, lowering the windows, disconnecting the battery, etc), you can proceed with removing the plastic covers under the steering wheel so that you can gain access to the connectors used for communication with the vehicle. The following is done on the Tesla Model 3. The photos below show the process on Tesla Model 3:
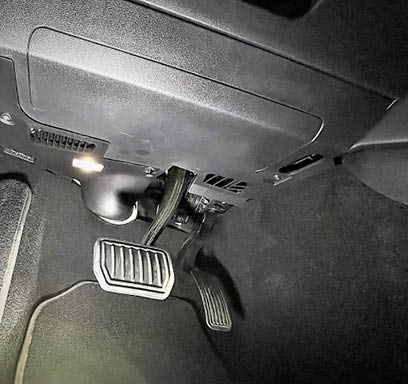
This is the main plastic cover that needs to be taken off so you can gain access to the connectors of the BCM module
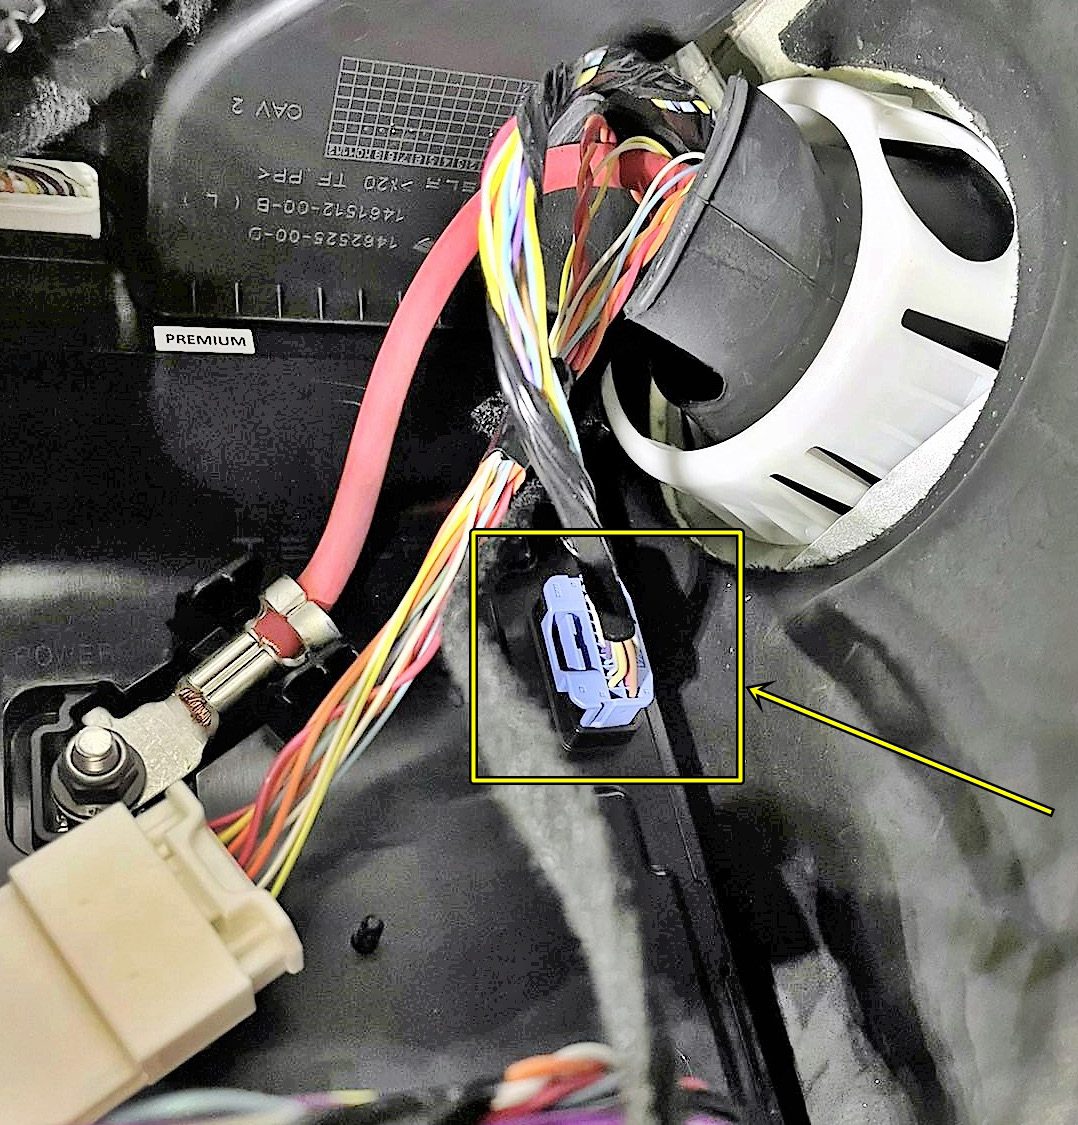
This is the BCM connector that the CB027 adapter is connected to.
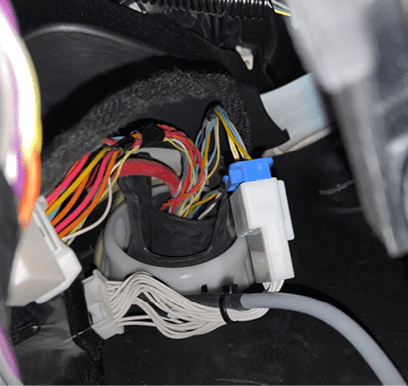
CB027 is connected and the original connector is
“bridged”.
The procedure for Model 3 does not apply to Model S/X vehicle.
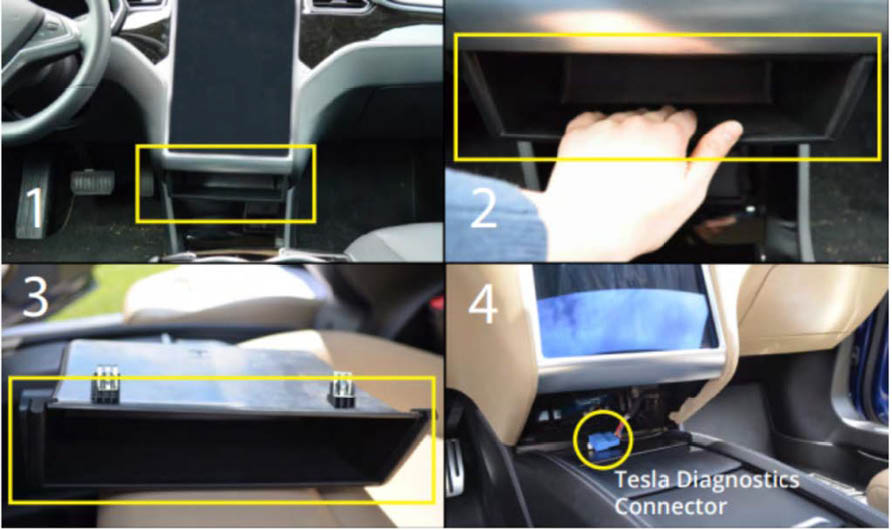
The below pictures show the diagnostic port on Tesla Model S/X. The ZN071 cable (part of the ZN087 cable set) is used to the connect to the diagnostic port.