Once the software is started, the user will have the option to choose a brand and a model produced by this brand. After that the protocol of the vehicle will be automatically detected and General Diagnostics screen will be displayed.
It is very important to know that the diagnostic in Tesla vehicles does not work as other regular passenger vehicles, the way we all know it. DTCs are not always relevant, nor the list of modules - you can still get some information out of the General Diagnostic Scan, but the correct way of reading the “DTCs” in Tesla is called “Alerts” and is described into a dedicated chapter.
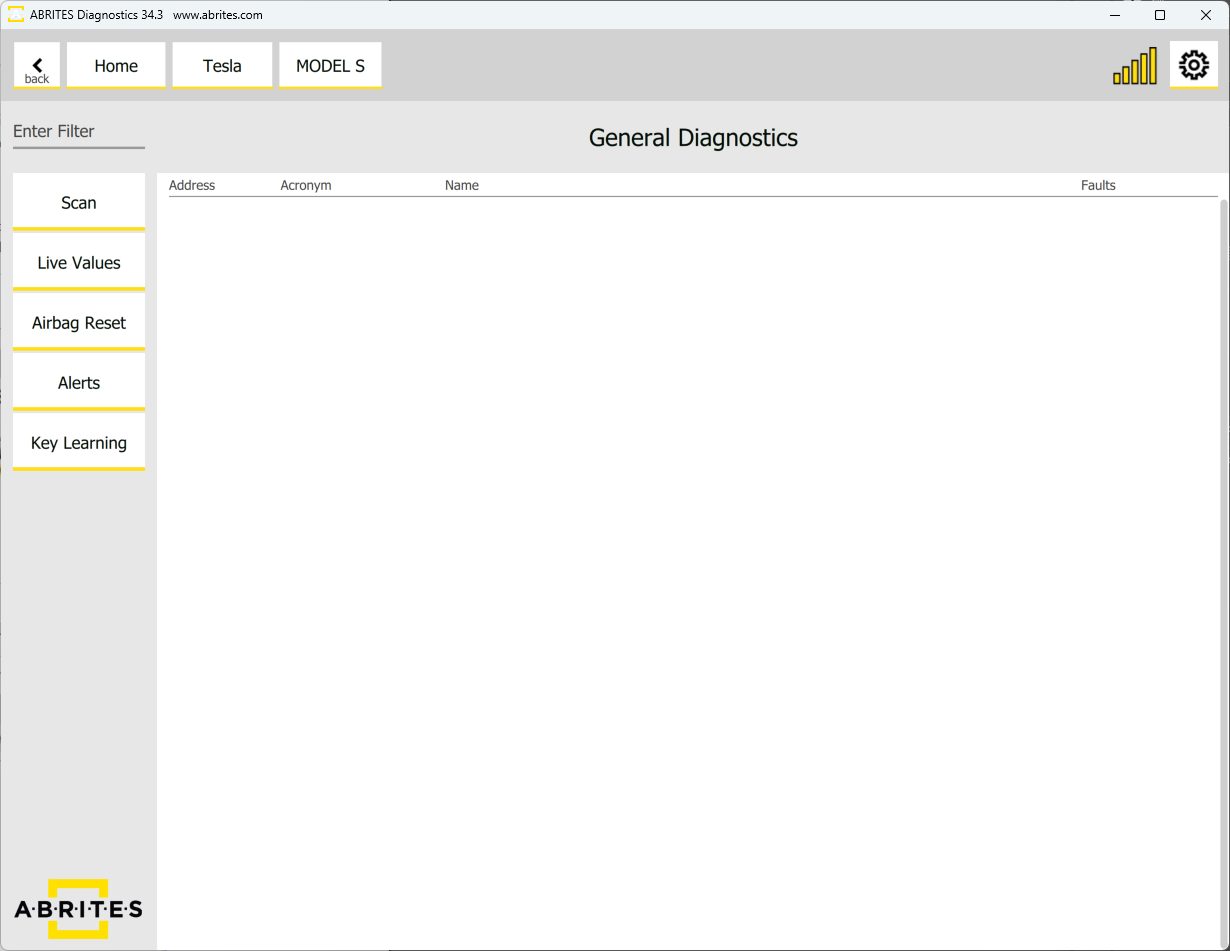
This is what the General Diagnostics screen looks like before the list of modules is generated
3.1.1 Scanning for diagnostic trouble codes (DTCs)
Diagnostic Trouble Codes (DTCs) in Tesla vehicle do not work as in other passenger cars. Real values about the errors of the vehicle can be monitored in the “Alerts” menu, described in the next section.
3.1.2 Alerts
Tesla vehicles have a different manner is showing the “DTCs” and it is called “Alerts”. There is a dedicated button on the left hand side of the main screen, which will open the Alerts menu and will show everything needed for making proper diagnostics to a Tesla vehicle.
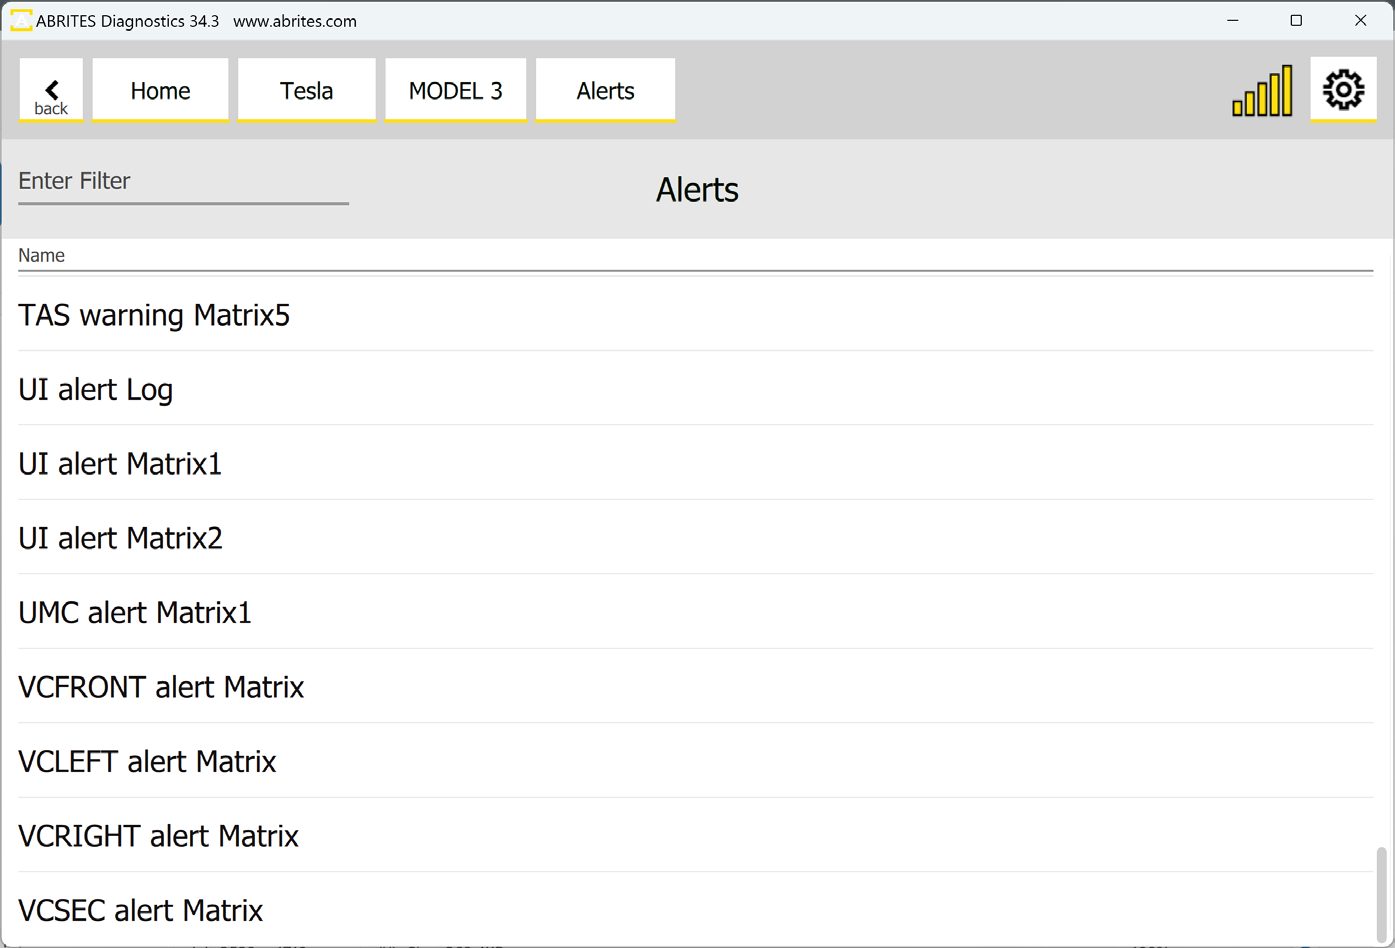
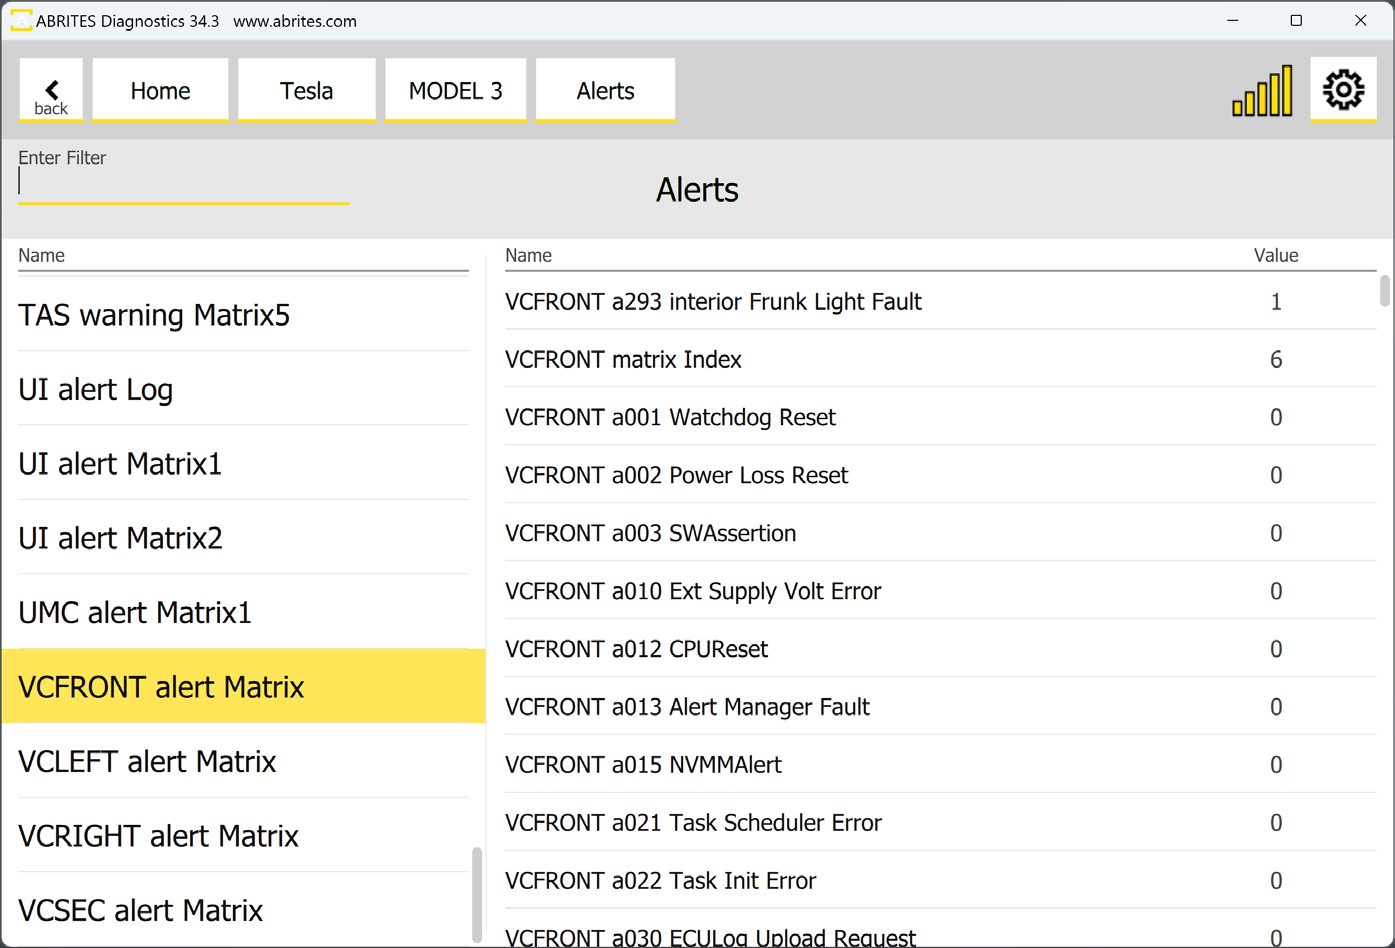
On the left side you will see a list of modules, once the module is selected you will see each available parameter. A value of “0“ means there are no errors with the monitored parameter.
Moreover, the values are dynamic - for example: if you monitor a light bulb which has a value “1” means there is a problem with it, right after you replace it - the value will become 0. So this can be used as a live data monitoring and there is no need to clear the errors once something is fixed (unlike in regular vehicles).
The correct way to “read/clear DTCs” in Tesla vehicles is executed trough the Alerts menu. Practically, there is no clearing of error codes as they disappear automatically, once a problem is solved.